The colors and the manner in which a room is painted can be the real defining factor in the way a room looks if it is properly done. Painting can cover a lot of defects in the building as it is the outward view of the home.
Things can even be made more glamorous with a perfect blend of different colors. There are several companies offering great painting services in Dallas. You can look around online to read reviews if you are looking for professional painters who can get the job done for you.
Painting can be done systematically by following certain steps, we will take a look at the six easy steps you can take in painting your home if you probably want to do it yourself.
6 Easy Steps To Paint Your Home
1. Clean and prepare the room
The first thing to do when you want to paint your room is to prepare your room by cleaning and clearing all the furniture from the room. Arrange the furniture and other items in a safe place where they will not be stained while you are parting the walls. If you can’t remove the furniture, you can cover it with a big enough tarp or sheet you no longer use.
The next thing to do is to clean the entire wall with water, cellulose sponge, and minimal dish soap in order to remove any residue that will not make the surface look smooth after painting. Tape all the trim work, windows, and doorframes after washing the walls so that the trim can be pain-free.
A wall that is well prepped before your paint will go a long way in making the finish look smooth and great. Hence, this step of cleaning and prepping your walls is one of the most important steps in painting as it is the foundation on which every other work is done will sit on.
2. Prime Walls
You might have to prime your walls, depending on the present color on your walls, this is important especially if you are painting with a new color other than what you currently have. Bolder and darker colors are difficult to paint over.
Priming your walls will help the sheen and coverage of the paint. Hence, you should consider priming your walls to get the best finish, and also make the wall have a uniform appearance. If you desire a uniform and smooth finish to the wall painting, priming the wall is key.
A well-primed wall will guarantee a good finish for your home. If you are doing it yourself, make sure you understand the technique needed. However, if you are hiring a painter, make sure that your painter puts extra attention on priming the walls.
3. Cut in
Make sure you cut in detailed areas before painting the entire room. The best type of brushes to achieve perfect cut in the result is sash brushes. They are about 1.5 inches wide and can cut at an angle making them the most ideal choice for cutting in around the detailed areas like outlets, trim, tricky corners, and areas around the ceiling.
Extend two or three inches out from around the areas you are cutting in and also ensure to keep a steady hand. This particular step is the most time consuming of all the steps, but it’s one of the most important steps.
4. Employ the W technique
This is one technical aspect of the step, rolling paint onto the wall with a roller is not as easy as it looks, it requires the right techniques and one of those techniques is the W technique. There are a lot of things to put into consideration depending on the type of paint you wish to use. You have to ensure you match the paint type to the nap length of the roller in order to get a uniform painting.
Start painting by using the “W technique.” Start your painting from the corner of a wall and roll the W pattern on a three-by-three-foot space. Maintain the pattern without lifting the roller and paint three-by-three sections at every point in time.
Make sure you continue to refill the roller with paint. Avoid spreading the paint too thin so that you can have a uniform finish but don’t overload the roller with too much paint as well.
5. Paint the trims
Once you are done with painting your walls, the next thing is to paint the trim. When the walls are dry, tape the areas where the trim meets with the wall. Then paint the trim using a two-inch angled brush to make the job easier. Painting is the cosmetics on the outside and interior of your home that will first draw the attention of everyone who visits your home.
6. Clean up
The final step involved in painting your room is to clean up the entire space. Start from cleaning your paint brushes, you might leave out cleaning the roller as they are cheap and you can get new ones when next you need to paint.
However, paint brushes can be expensive, so you need to clean them properly so that you can use them again. Arrange your furniture and other items in their right places after the wall paintings have dried up so that you don’t stain the furniture.
There are several companies offering painting services in Dallas, look around and ensure that you get the best hands around if you are hiring professional painters. Read reviews about the various companies online, this will help you make the right choice of a painter to get the job done.
Request quote from as many painters as possible, compare quotes and get to engage the painter that’s within your budget.
What are the things you need to Paint a Room?
The first line of action here is to get all the needed supplies and figure out the paint quantity. First, measure the surfaces you want to paint to determine the square footage. Just multiply the height of a solid wall by its width to figure out the total surface area.
You will follow the same step with a door, ceiling, or trim like molding and baseboards. Include those square footages to your overall total if you plan to paint them with the same color used for your walls. Let’s look at the needed supplies and tools.
1. Quantity of Paint
The quantity of the paint you will need will also be determined by the surface of the walls. With a gallon of paint, you can typically paint between 250 and 400 sq-ft, according to experts. They also stated that a gallon might cover about 400 sq-ft of a smooth surface, although you may likely need more to hide dark colors, a rough or textured wall, or an unpainted surface.
Note that you generally will need more than a single coat of paint. You may want to buy paint in excess, according to the experts. This will ensure there is no shortage of paint while on the job, and you can use any excess for touch-ups where and when needed.
2. Type of Paint
You must also pick a paint sheen that is right for the room. As stated by the experts, you will generally want to apply a flat, eggshell, or satin paint for surfaces. Flat paint is not so glossy, and this is mostly used in formal areas, while high-traffic places like kitchen, playrooms, bathrooms, or basements are painted with eggshell and satin as they are glossy.
Cleaning higher gloss paint is easier as they are more resistant to stain according to the experts, and this is why using them for frequently used rooms is better.
You can give your wood pieces and trim a good look by applying a semi-gloss paint as it also helps to ward off stains and scuffs. HGTV says using a flat paint is perfect for ceilings due to its assistance in covering imperfections.
When you apply a flat paint specifically made for ceilings, it may help you prevent the ceiling from yellowing in the long run and reduce droplets during painting.
4. Tools
You must possess the appropriate tools for the job alongside the paint and primer, the following tools are recommended by the DIY network:
- Paint rollers and covers: The type of paint you plan to apply and on which surfaces you are applying it to will determine the type of roller and roller covers you need. Consider getting a roller with an extension handle. During paint purchase, ask for which is best and perfect for your situation.
- Paintbrushes: During paint purchase, don’t forget to ask for the type and size of brushes you need immediately after talking about rollers. We recommend you have a minimum of 2.5 inches angled brush for boundary paint.
- Rags: These will be needed to clean your brushes.
- Sandpaper: This will be used to get surfaces ready for painting.
- Dropcloths: Use these to cover flooring and furniture in order to prevent them from paint and dust.
- Painter’s tape: Tape off woodwork, windows, and other items to prevent them from being stained with paint.
- Paint scraper: Use this to remove old paint.
- Sponge: Wipe off any dust from your walls before painting using a damp sponge.
Getting a Room Ready for Painting
Once you’ve laid your hands on the supplies, it is time to get your room ready. Experts suggest that you get your room ready for painting by doing the following:
1. Move away Belongings you are not painting
Move everything you can move before you start painting the room. If possible, remove every item from the room. You will be blocked from working when you leave items in the room, and they may also be damaged by splatter and spills. These include:
- Move furniture items away from walls. If you can’t get everything out of the room, move them to the center of the room. Although you can paint a room without removing the furniture, we recommend moving them if possible. If you choose to move the item in the center of the room, make sure you cover all the items using a plastic sheet.
- Remove wall decors, clocks, pictures, light-weight shelves, and any wall accessories hung by nail or picture hooks.
- Remove all outlet covers and switch plates using a small screwdriver, and leave the screws to loosen in place by a few threads after getting the covers out. In case you removed the screws, keep them safe in a sipping plastic bag. Keep the covers in a drawer or bucket. Place dirty covers in warm soapy water to clean them after painting. Replace any cracked or broken faceplates.
- Keep the switches and outlets safe by placing a strip of blue masking tape over them to prevent getting paint on them accidentally. Make sure you turn off the switch that connect the switches and outlets. You are risking an electric shock if you leave the circuits on and accidentally touch the metal screws hanging on the switch or outlet.
2. Cover Floor and Items you can’t move
Cover all your furniture with a large plastic tarp or drop cloths. Make sure the sides of the plastic are taped. Lay rosin paper or taps to cover the flooring. If you have hardwood floors, use rosin paper, because using plastic paper will make the surface slippery. You can get the rosin paper in rolls from the hardware store, or you can just get the cheaper builder’s paper.
3. Cover or remove the Trim
Tape the edges of your window trim and door properly using painter’s tape to prevent it from paint unless you plan to paint them the same color as the walls. Remove the baseboards if you can. If not, secure the edges using painter’s tape to protect them from the paint you are applying on the wall. Clean the top boundaries of the baseboards as they may be dirty in order to help the tape stick well.
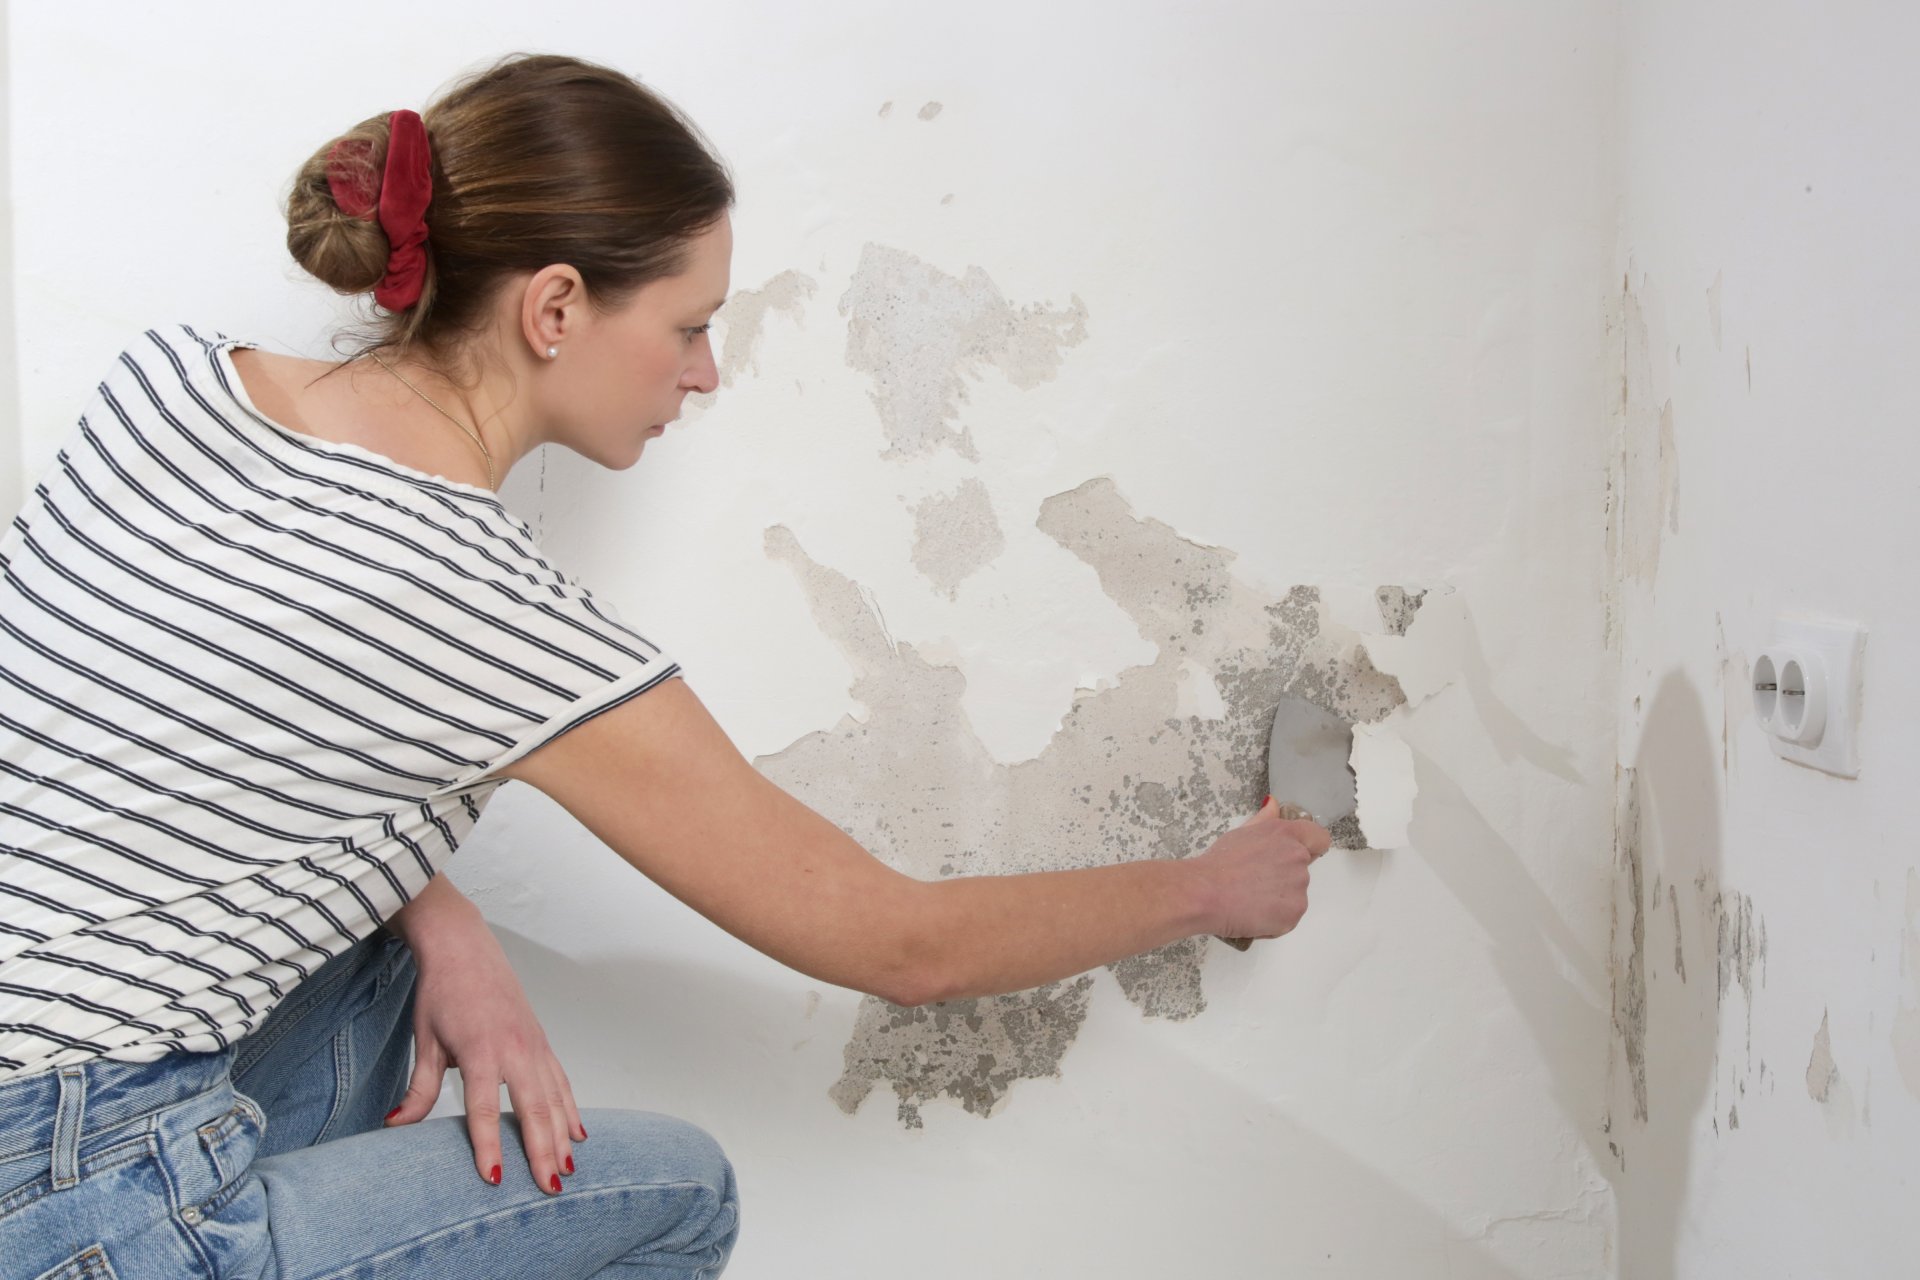
4. Make Fixes and clean the Walls
Repair any surface that needs it before you start painting. Paint alone cannot hide the flaws of the surface go away. Any visible mistake before you apply paint will surely reappear after painting. You will need a masking primer to prime the surface if there are any stains on it. Get primers that are made to block or cover stains specifically.
Continue priming those areas until the stains become invincible. Relying on your paint to do this is so wrong. Lastly, use painter’s detergent, also known as tri-sodium phosphate (TSP), to effectively wash the surfaces and get rid of dirt and surface oils.
Prepare a clean bucket with clean water, pour in the recommended quantity of TSP, and stir. Soak the sponge in the TSP solution and begin to clean the walls. Rinse the wall with clean water to get the dirt, oil surface, and residue of the TSP solution out.
5. Breaking Downtime
When you are about to paint a room, you should first determine how long the task will take. Painting an entire room against an accent wall will take different time to complete. Arrange a time to complete the project all at once. You can just break everything down on paper to easily determine how much time the project will take.
- Prep work – two to three hours
- Painting Walls and Ceiling – one to two hours per coat of paint
- Trim work – thirty minutes per coat
- Furniture (optional) – two hours total
- Clean up – clean-up of disposable supplies should take fifteen to thirty minutes while washing brushes and trays should take between thirty minutes to an hour.
Note: Make adjustments to your time for your different sizes of rooms.
Frequently Asked Questions
What section of a room should I paint first?
If you will be painting a whole room, then start with the ceiling, then the walls. We also like painting large areas such as walls first before we repaint the trim. This is because it is easier to work faster on open areas, which can cause roller spatters, overspray, and infrequent brushstrokes.
Do you clean walls before painting?
Washing prolongs the painting time and affects painters’ income, so be ready to pay them more for the washing service if you need your surfaces to be cleaned before painting. You can just hire a cleaner to clean the surfaces for you, or you handle it yourself before the painter arrives at your home.
Is painting yourself better than hiring someone?
The cost of paint is generally between $30 and $60 per gallon. You will get a top-quality paint job and save your time by hiring a professional. Three factors determine the price you get for an interior paint job, and they are location, the job type, and the experience of your painter.
Where do I start when painting a wall?
Start painting at the trim by hand. Dip the tip of your paintbrush about two inches into the paint and allow the excess falls off. Then, brush the paint onto the surface using an angled boundary of the brush, beginning from one of the upper corners of the room.
When do you cut in, before or after rolling?
Before rolling paint on the main surfaces, we advise you to cut in the corners. This implies that you should paint each side of the corners beginning about 2 brush lengths away and moving the painting into the corner. Make use of a two or three-inch brush for paints. Cutting around the trim can be done either before or after rolling.