Wood paneling is capable of giving a home a warm and comfortable feel. However, if there are still old paneling in your house, damaged, or made of substandard veneer, you might have to let go.
If your budget is not enough to remove it, there is still a way out.
Applying paint on your wood paneling has been found to be one of the best ways to improve the aesthetic look of your home.
It can quickly change the unsightly look of that dingy paneling to a fresh and bright sight for half of the cost.
If your home wood paneling no longer gives you a good vibe, paint it with a new coat of paint and you will thank me later.
Even though it is difficult to paint paneling, adequate preparation might enhance the paint adhesion. If proper measures are not taken, you could end up with an unpleasant paint job that will require repainting later on.
Dallas Paints has compiled this guide on how to paint wood paneling like a pro. Read on to uncover the secret!
Should You Proceed And Paint Wood Paneling Or Not?
Deciding whether or not to paint your wood paneling and moldings is tough. While it involves a cheap wood veneer that was in vogue in the 1970s, you have to go with a yes.
But regarding solid wood paneling of top quality, the decision becomes more complicated. One thing is, you cannot change your mind once you are into it as sanding will not remove paint from paneling.
Also, there are many joints on solid-wood planks that can open up and reveal hairline cracks if there is contraction to the planks during low humidity periods.
If you choose to paint on wood paneling in your home, consider these steps to make sure it’s properly done. Sanding, priming, and cleaning may seem non-essential, but extra attention is needed by wood paneling for it to be done the right way.
The Right Way to Paint Wood Paneling
Painting wood paneling can be tough, and if you have experience in painting, you know the job can be too much. Doing it wrongly can easily call for repetition of the job many times.
Materials you will need to paint wood paneling:
- Trisodium phosphate solution: This is a cleaning solution to be used on the wood paneling before you paint it.
- Protective gloves: Should be used with the TSP solution – you want to avoid direct contact with a hand for the TSP solution.
- Long sleeve shirt: Additional clothing while making use of the TSP solution to prevent splash.
- Breathing mask: Alongside making sure sufficient airflow with the TSP solution is possible, we recommend a breathing mask, too.
- Safety goggles: One last prevention against the TSP solution.
- Large sponge: To be used to clean the wood paneling with the TSP solution.
- Bucket: To be used to dilute the TSP solution with water.
- 220 grit sandpaper: Gently sand the wood paneling before you prime and paint.
- Painter’s tape: To protect the part of your floor that is facing the wall.
- Dropcloth: To protect the rest of your items against drops or splash of paint.
- Paint tray: To be used with a paint roller.
- Paint roller: To paint large ungrooved spots of your wood paneling.
- 2-inch angle sash brush: To paint the grooved parts of your wood paneling.
- Primer: Forgetting the wood paneling ready for the last paint color of your choice.
- Final paint color: The color you picked to cover the wood.
To make sure you don’t waste your time as well as your weekend(s), stick to our procedural instructions for ways to paint wood paneling, and give your home a new look. Follow these steps:
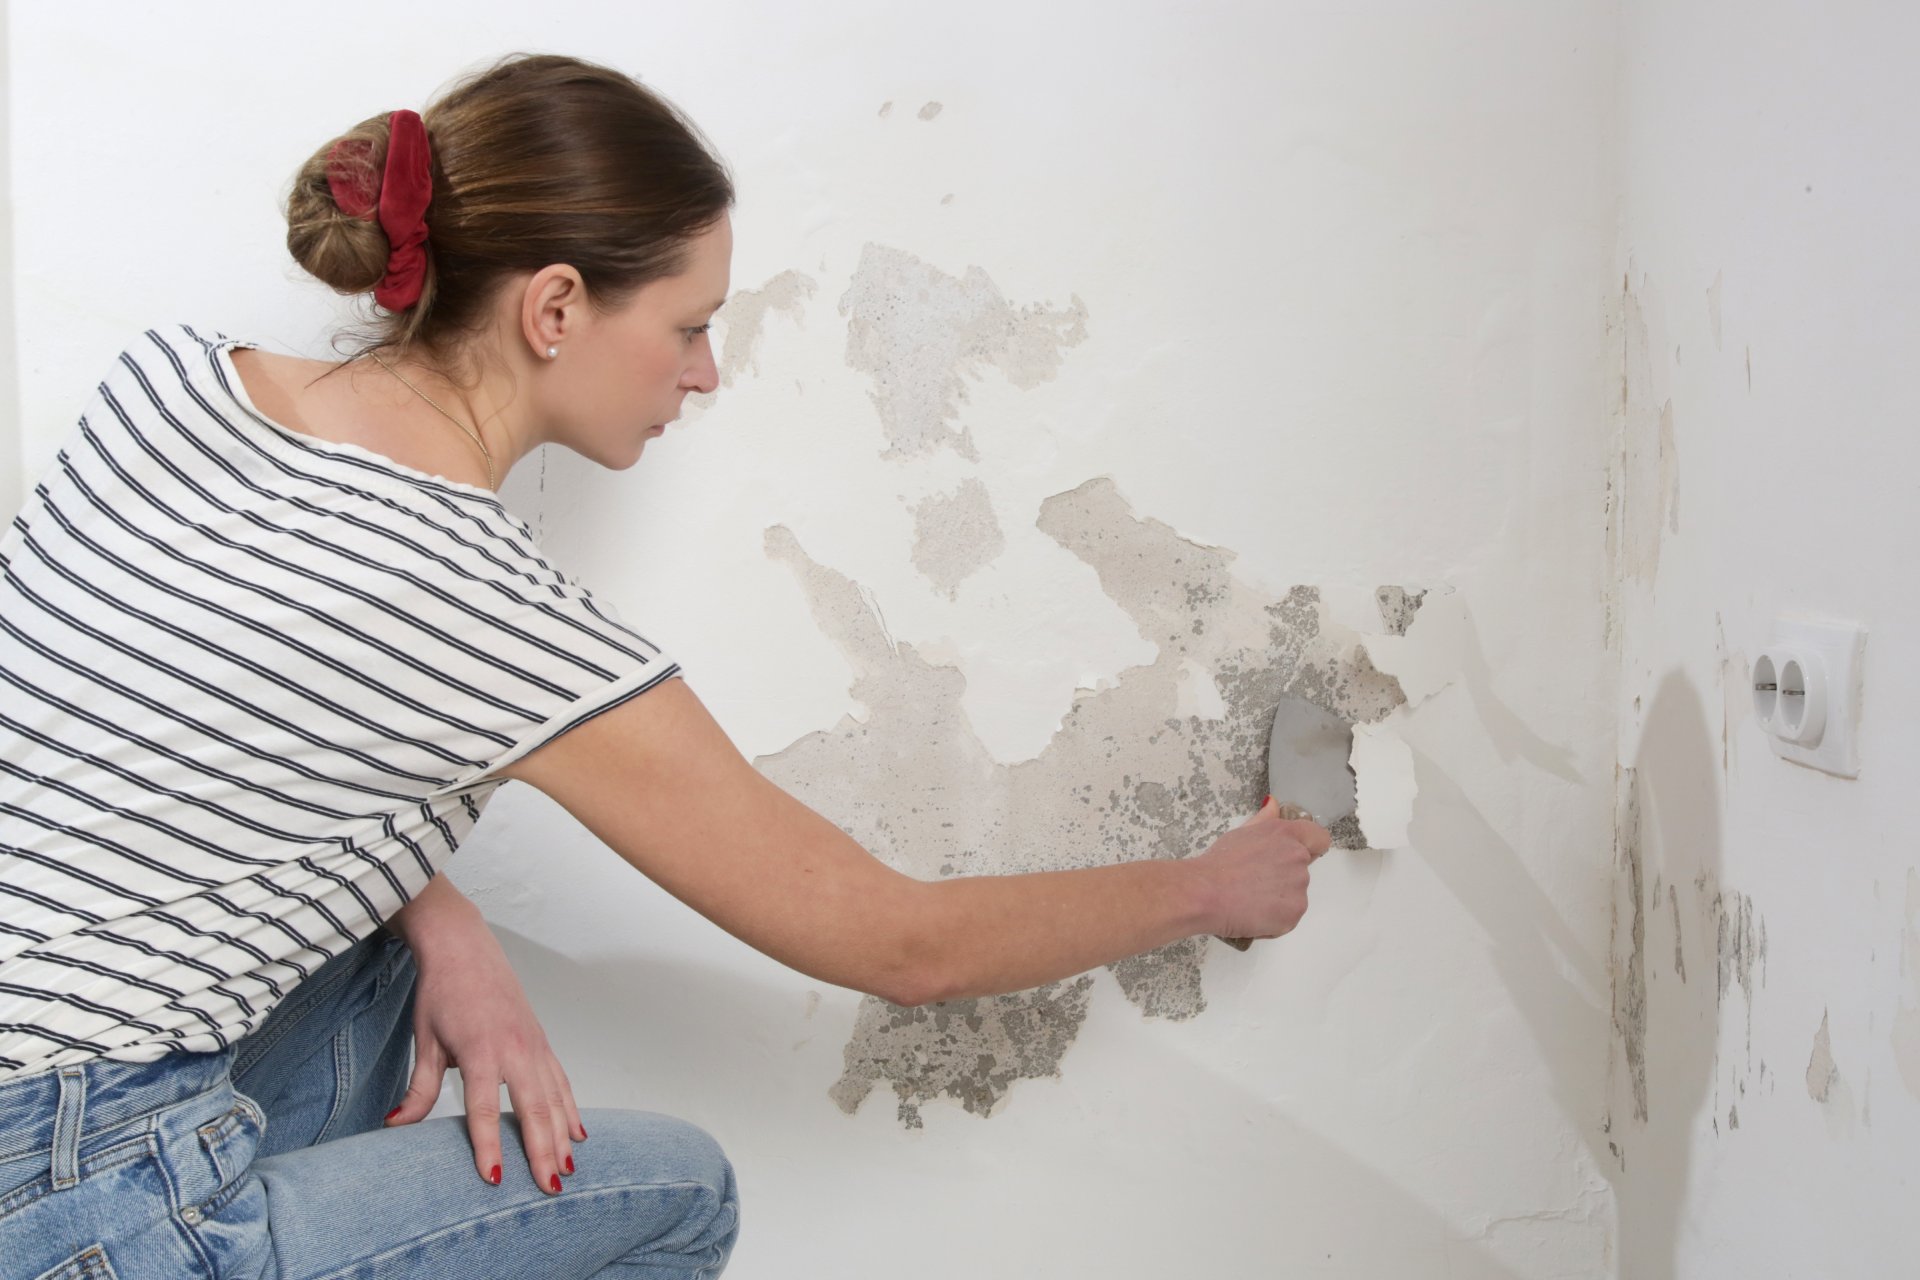
1. Clean the Molding and Paneling
Many things can block paint adhesion to wood paneling. It may be dust, fingerprints, or dirt and it can bring flaws to your paint job, so you will need to clean the wall first.
This can be done by using a TSP solution first. Know that TSP is strong, so you will first need to dilute it inside a bucket with enough water before use. However, you will need to dilute it with much water before you start to use it.
However, diluted TSP can also be a bit toxic and dangerous to the skin, so make sure you wear protective gear before you even start to clean the wood paneling. This includes an outing on safety goggles, protective gloves, a breathing mask, and a long-sleeved shirt.
Also, let there be much ventilation by leaving windows and doors.
Consider plugging in a fan if those are not possible.
Gently dampen a sponge with the TSP solution to clean the wood paneling and gently use it to wipe the wood paneling. The solution is very strong, so you won’t have to scrub or press down much with your dampened sponge.
Leave it to dry before proceeding to the second step.
2. Fill and Sand the Panel
With the use of a putty knife, fill all holes or cracks with wood putty, and leave it to dry. If you like, gently sand the entire paneling (remember the trim and moldings) using 150-grit sandpaper.
The idea behind it is to remove the sheen and make a light surface for the paint to adhere to. Endeavor to stay focus and don’t sand too hard. Once you are done, wipe down the paneling with a lightly damp cloth to get rid of all dust.
Note: Sanding is not compulsory and usually not necessary. The use of a good primer that will adhere to the old finish often means sanding the wood is not necessary. Just remember that if the primer doesn’t adhere, the paint also will not. Sanding always increases the chances of adhesion.
Pro Tip
There is paneling that resembles wood but maybe a faux melamine finish. If it is, you need to sand and prime. Consult your paint supplies for the right primer.
3. Remove Trim
If you decide to retain the trim’s color or paint it a different color to your wood paneling, take it away from the wall. Use a prybar and lose it gently. If you are painting the trim the same color as the surface, just sand the adjacent wood trim found on your baseboards lightly to let the paint adhere easily.
Immediately you’ve sanded everything, use a clean damp cloth to get rid of any dust or particles from the walls and trim. Also, try and touch up rough sanding areas as you work.
4. Caulk Cracks
With the use of a caulk gun, paste caulk on any gaps and cracks where the paneling intersects the baseboard and ceiling, or just towards windows and doors. This will change the look of your room. Leave the caulking to dry well before you paint wood paneling. Read the manufacturer’s instructions to see its drying duration.
5. Prime the Wood
Paste a slight coat of primer to the paneling, with the use of a foam sponge roller as well as a brush, or simply use a brush.
When rolling, hold a brush with you to fill cracks, corners, or seams where the roller can’t reach to get rid of drips. Be sure to cover the whole surface, including any trim.
Oil-based primer or water-based stain-blocking primer is the best to use. These will block off any grease or wood stains from coming to the surface and ruining your finish.
Pro Tip
Make use of a primer formulated when painting knotty pine to cover knots, which can come atop many coats of paint if priming is wrongly done.
6. Protect Nearby Areas
This step is vital to keep your space clean as you paint wood paneling. Use drop cloths big enough to get to the paneled walls to cover the floor. When paint drip, it gets onto the drop cloth and thus saving your flooring. Cover any areas of your room like doorways, windows, or vents, using painter’s tape.
7. Paint the Paneling
Paint a thin coat of your paint to each paneling surface. Start from the top and work towards the down direction, ensuring you cover all the spaces between the panels.
Get rid of any excess paint in those piles in the panel grooves with the use of your brush. Attend to any drips immediately, too.
Allow the coat to first dry, as directed, and then paste a second coat. Your work may seem done after applying the primer and first coat, but the best coverage and durability are achieved from the second coat. It is truly a worthy additional time and materials.
8. Paint the Trim
Paint the trim any color you like. It is often best to apply a glossier paint than the one you choose for the surfaces, but it often depends on personal preference. Glossier paint makes sure the trim is unique and provides a smoother surface that is easy to clean.
Frequently Asked Questions
What kind of paint should I apply to wood paneling?
Apply a water-based primer if your wood type is solid. If you are painting a veneer, a shellac-based primer is the best. Two coats of latex wall paint are perfect for your final paint.
Is sanding of wood paneling necessary before painting?
No, but it is strongly recommended. The primer and your finish will stick to the wood paneling much better when you sand lightly in advance. There is no need to spend much time on sanding, just do it lightly and once or twice.
How do you paint grooved-wood paneling?
W 2-inch angle sash brush is what you will need to fit well into the grooves. Then, after painting your grooves, approach the larger areas with just a paint roller.
Conclusion
Painting wood paneling is indeed a tough job. Even after doing it right, painting wood paneling is a time taking task. However, if you stick to the steps we mentioned above, you will have a pro finish after everything. Don’t feel like you can do it?
Click here to obtain free, no-obligation estimates from your nearest pro painters.