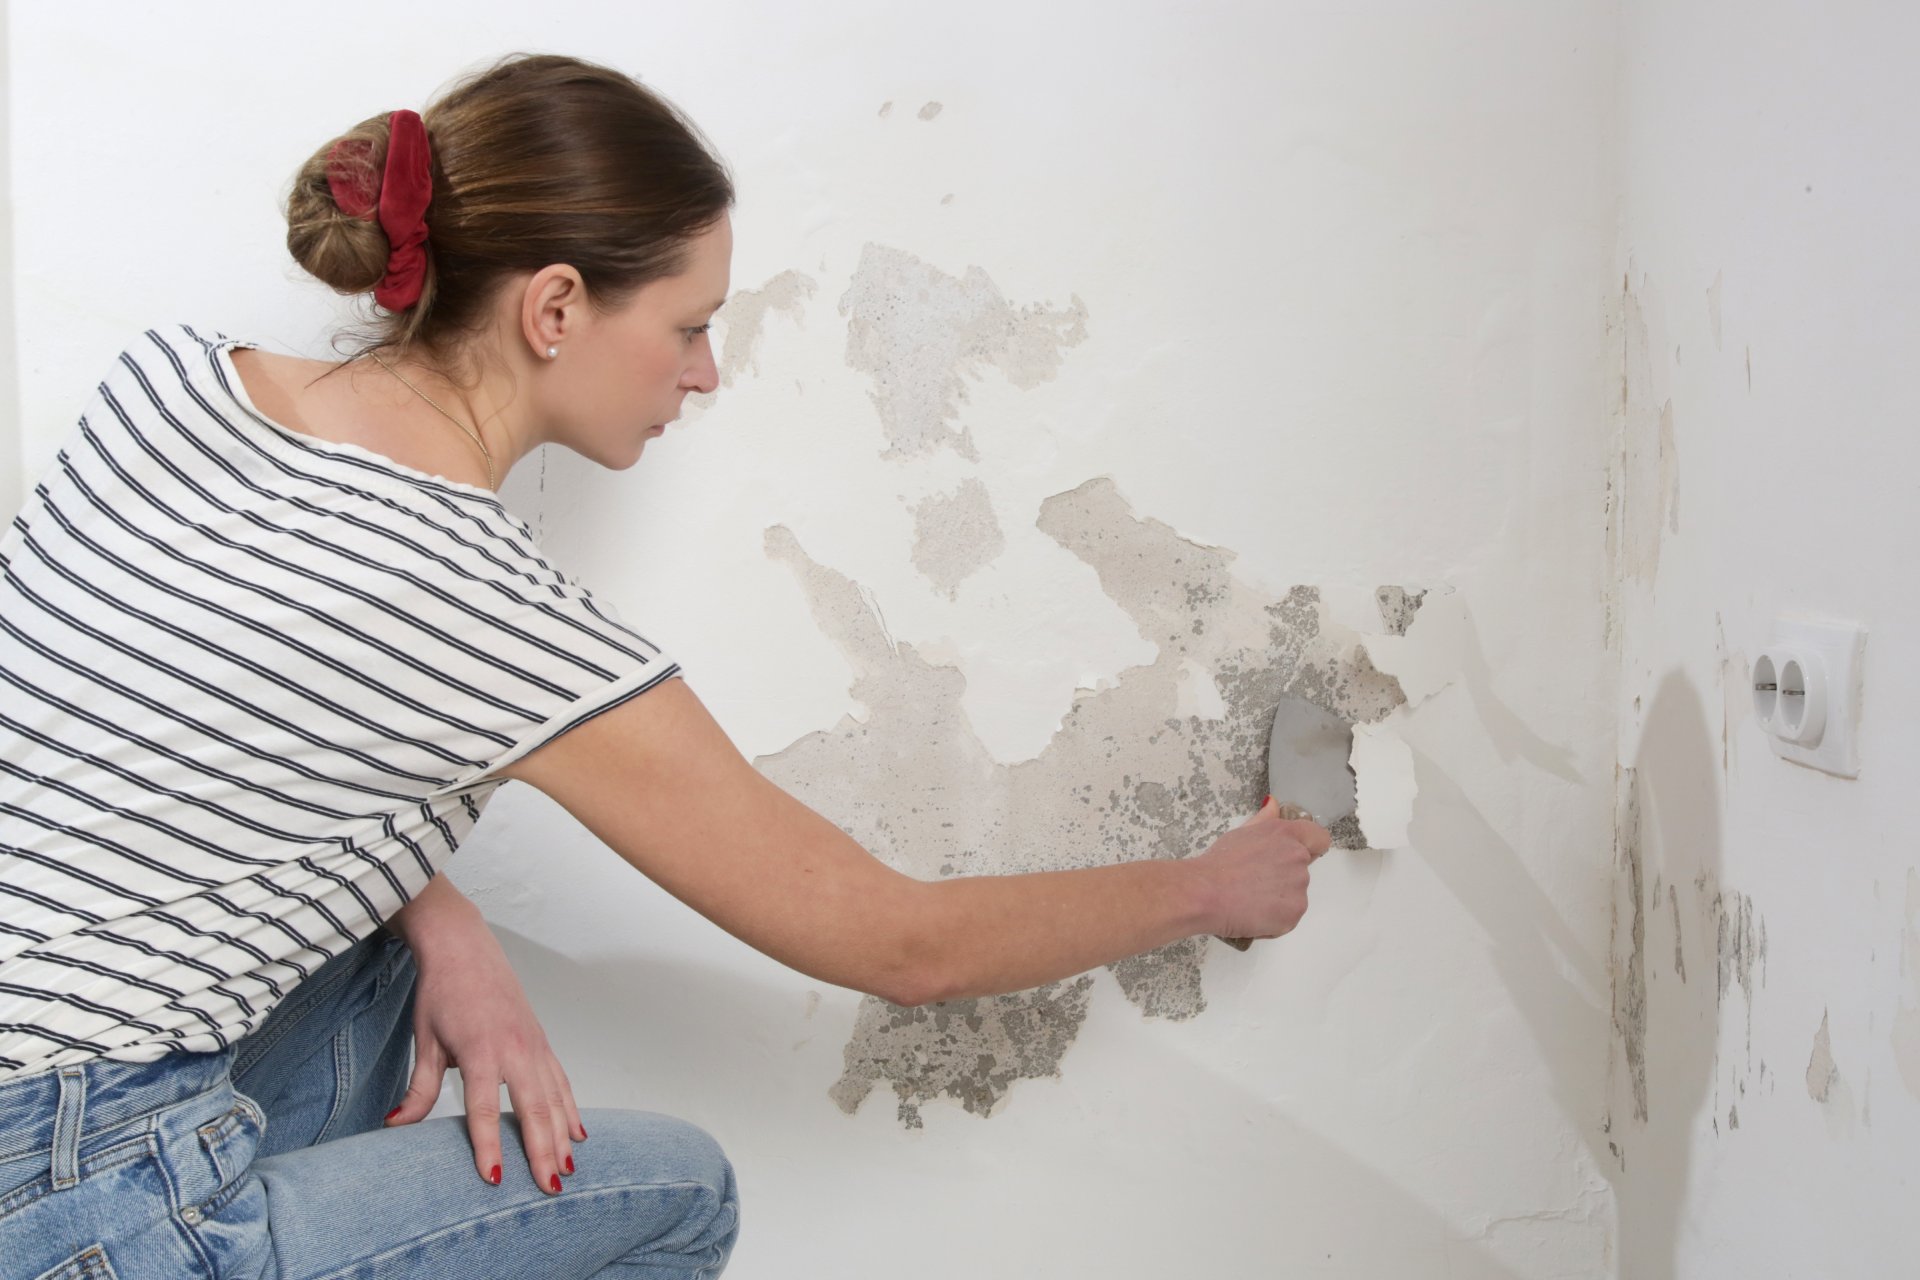
Repairing damaged drywall may seem like a challenging task, but in many cases it isn’t. Let us help with some essential information and useful tips
Drywall is durable up to a point. With time, it is bound to crack and dent, loosen of suffer from water damage, have scuff marks or holes.
In some cases, it’s best to call a professional and have the drywall replaced. But in many cases it’s perfectly possible to handle repairs yourself.
What is Drywall?
Drywall is mainly a gypsum (calcium sulfate dihydrate) panel placed between two types of paper: one has a light-color face, and the other has a darker back. It first became popular in the United States of America in 1916 when the Gypsum Corporation shipped a product called “Sheetrock” aimed to be a non-warping, non-burning wall surface masking.
Because the wall was widely accepted, even though it doesn’t require a wooden lathe, it was tagged as the poor man’s replacement for plaster walls.
Drywall had already turned to standard building materials during the ’50s and ’60s. Usually, the drywall’s thickness is half an inch for walls. The same thickness is used for ceilings, but a quarter-inch thickness is also popular and is used for arches and curves.
Although drywall is made in 4’ x 8’ sheets by design, most home centers do have smaller pieces available, and some are ready to cut customers’ preferred sizes for them at a price.
And if you want to repair a damaged drywall yourself you can easily find the necessary equipment and materials in any DIY shop.
Tips to Repair Damaged Drywall
Drying time is often required between every two steps in the repair process, so it usually takes several days. Don’t try to rush it – patience is mandatory if you want the best outcome.
The standard is three coats of drywall, but adding fourth coats is even better. Applying an extra coat is usually better in terms of both durability and insulation. Note that you only need to sand the last coat.
Materials and Tools needed
The good news is, you, as a homeowner can easily repair a hole in your wall without spending your time or money hiring a contractor. You only need to grab some items from the hardware store and apply a little patience. There are no professional tools needed. For instance, a screw gun is being used by a professional – don’t use glue at all.
Below are materials and tools needed for drywall repairs:
Materials
- Drywall plates for patching
- All-purpose joint compound
- Construction adhesive
- Paper drywall tape
Tools
- Few quantities of paint stirrers, which is usually free at the most hardware store, the required number will be based on the size of hole you want to repair.
- Ruler or a straight object to be used as a straight edge.
- A utility knife plus a sharp blade.
- Flexible scrappers or 4’ and 6’ taping knives.
- Sandpaper or sanding block.
- Paintbrush
Top 7 Tips to Repair Sheetrock
Find the process explained in a step-by-step below, which will help you complete your repair job. This work will require you to get busy over a few days to give room for drying time.
1. Prepare the Opening
Create straight sides and a complete rectangular or square shape by trimming the edges of the hole. Indicate cutting lines on the sheetrock by making use of a pencil and a framing square, then use a sheetrock saw to cut the path of the line.
Pro Tip
Ensure there are no plumbing or wiring at the back of the sheetrock surface before you start cutting.
2. Install the Backing Strips
Cut lumber or plywood into two pieces with each of their lengths greater than the hole’s lengths. Position one piece into the hole across one of the long sides to centralize the strip on the edge of the sheetrock (half of it is at the back of the sheetrock and the other half if showed).
Use sheetrock screws to hold the strip down firmly by driving the screws into the sheetrock and the strip. Maintain the screws at about one inch from the edge of the sheetrock and give them about six inches space aside.
Install the backing strip by following the same process at the long side hole. To make the strips fit between the long strips, cut two short trips if the hole’s width is beyond 10inches. On the two short sides of the hole, position the short strips along with them.
3. Install the Sheetrock Patch
Cut a drywall piece that fits the hole. You don’t have to cut the perfect fit but do not allow the seam’s width to be above 1/8 inches. Place the covering on the hole and use screws to hold it firmly to the backing strips. Make sure the screw are maintained at about one inch from the edges of the covering, giving them about six inches spacing.
Pro Tip
The thickness of the covering must be as exact as the existing sheetrock, which is mostly ½ inch.
4. Tape the Seams
Use sheetrock joint tape to cover each seam and overlap tape strips at the edges, and use a utility knife to cut the strips to length. Ensure the tape lies flat and avoid any bulges or wrinkles.
5. Mud the Seams
Use a light layer of sheetrock joint compound to cover the sheetrock tape with a six-inch sheetrock knife. The mesh should be visible through the compound. Allow the compound some time to dry, then proceed by scraping off the surface using the knife to get rid of any clumps or burrs.
Apply another light layer of the previous compound, but this time let it extend beyond the previous layer’s corners. Feather the edges of the wet compound on the sheetrock in the area using the knife so it doesn’t taper to anything. Give the second layer some time to dry and then scrape again, and apply the third layer. Leave the third layer to dry.
6. Sand the Mud
Use a sanding sponge to smoothen the surface of the dried compound. Avoid over-sanding the compound so you don’t block the visible tape mesh. To reduce dust, you can perform wet-sand using a wet-sanding sponge.
Use a dry rag to clear off all sanding dust. You may like to apply a surface texture like the orange peel spray texture to ensure the matching of the surface that surrounds the repaired wall.
7. Prime and Paint the Repaired Sheetrock
Use a coat of primer to cover the whole patch area with a paintbrush. Allow the primer to dry. Match the patch’s surrounding area by applying two or more coats as required. You can also paint the entire wall to perfectly hide the patch if the ceiling or wall could handle a new paint job.
Other Essential Tips to Repair Drywall
Do make use of the right materials:
Fill the minor dents or scratches when you are repairing a light layer of a joint compound, which is also referred to as drywall mud. Use a three to four-inch putty knife specially designed for drywall work to apply the joint compound and then smoothing the filler until it blends right with the wall.
Reinforcement mesh will be required for cracks or holes larger than half an inch before sparkling. Direct application of the joint compound to large gouges will temporarily fix the damage, but over time, the damage will resurface again, and the joint compound begins to dry and crumble.
Do not waste time:
Make available already-made products specially designed to make repair tasks easier. Use reinforced center panels to patch kits and use self-adhesive tape for smaller holes.
Applying the combination of a primer and drywall compound like the 3M Patch Plus Primer being sold on Amazon gives you a surface that can be painted.
Do not forget, neatness counts:
Before you apply joint compound, grab a box cutter or other sharp object to cut out mesh tape stands or frayed edges of wallpaper surrounding the cracks or holes. Doing this will prevent bumps and other blemishes from condemning your entire work.
Don’t cut the cords:
Stay safe and make sure there are no electrical wires and plumbing lines in the cabinet behind the wall before you start cutting and repairing a hole. If the hole is not that wide, grab a flashlight and shine it into the hole to see what’s inside.
If there is a need to expand the hole, make sure you do the cutting horizontally using a drywall saw and make sure the depth doesn’t go beyond an inch. The right assumption is that hot wires will be beside an electrical outlet, but avoid making the mistake of thinking all homebuilders or renovators stick to all plumbing and electrical codes. Wires and pipes are usually found out of place.
Do keep it light:
When using a joint compound, less is typically considered more. Sanding a light coat is very easy, and you probably won’t remove excess while sanding and expose the cover.
Make sure you feather the compound as you apply it to make sure it appears in place with the surrounding wall near the repaired area. Hold the knife at a 700 angle, applying hard pressure on the joint compound’s outer edges as you gently move away from the middle.
Do not skimp while sanding:
Make sure you take your time while sanding and avoid cutting corners, so the repaired spot won’t reappear. Use fine-grit sandpaper (100/120) on the repaired area once it dries.
Apply a second layer of joint compound on the patch after the first sanding, and then spread the mud about two inches beyond the edges of the initial layer. Once dry, sand again.
Do not forget to use protection:
Your lungs may be injured when you inhale the fine particle of drywall compound. This is why you must always put on a dust mask during the sanding of the dried mud. You can also protect your hands from the effect (dehydration) of gypsum dust by putting on disposable gloves.
Do not forget to inspect:
You are not done with the task until you slide your hands on the repaired wall to make sure it flushes with the surrounding area. Then you can look for any part of the repair that may require more sanding.
FAQ About Sheetrock Repair
Is a DIY approach for a drywall repair better than hiring someone to do it?
If you already have all the required tools in your possession and are willing to do it yourself, you already have what it takes to handle the repair yourself. On the contrary, you may like to save time and stress by giving the job to a drywall contractor nearest to you.
What are the required tools and supplies I must have to handle the repair work myself?
Some or all of these tools will be needed:
- drywall saw
- drill
- electronic stud finder
- flexible knives
- hacksaw
- hammer
- hand sander
- inside corner knife
- ladder
- level
- pry bar
- sanding sponge
- screwdriver
- tape measure
- utility knife
Also, make sure you budget for buying drywall tape, joint compound, fresh drywall for patching, drywall nails, and screws, and maybe spray-on elastic crack coating.
You can also get full drywall repair kits on the market, including patches that are already in the size you may need from 4’ x 4’ to 8’ x 8’ or customized to fit the sides of electric outlets. Visit your local home center or hardware store.
What is the cost of professional drywall repair?
You can predict the first cost of drywall installation when you hire a professional to handle the task. The average starts from an approximate of $1.5 to $2.00/Sq-ft, and you will pay almost the same amount for replacement aside the cost of damaged materials removal.
However, the complexity and type of the problem will determine the cost of repairing drywall. The price will be charged by the man-hours and the required supplies.
Should I repair my damaged drywall or get a complete replacement?
The answer to this depends on the extent of the damage. If the damage is just a small crack or a little damage like nail pops where the nail coverings have pulled away from the wall surfaces and popped from the drywall, you can quickly and easily repair this.
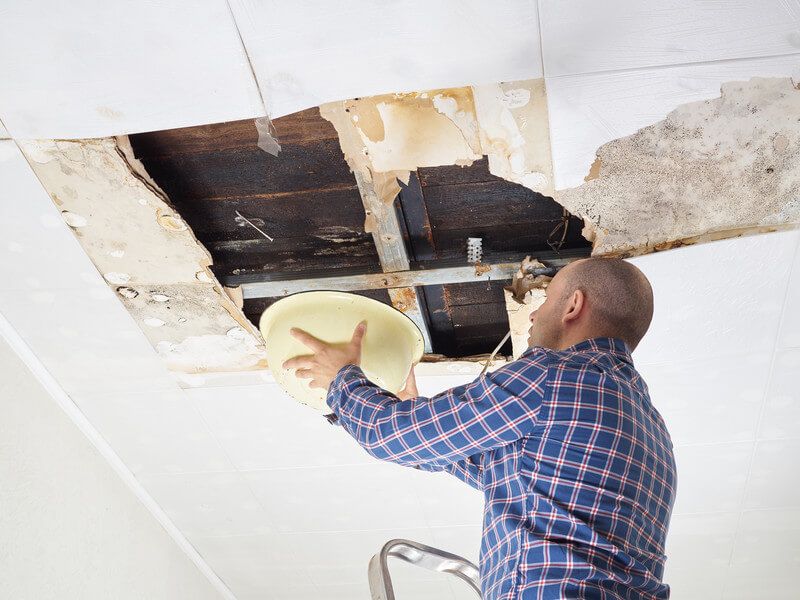
But you may have to consider replacement as the best option if you have larger damage to your drywall, such as a large hole or heavy infestation of mold, which might have eaten deeper into the drywall. We advise you to get rid of the mold source as you’ve discovered it to avoid damaging more drywall.
Is it possible to recycle damaged drywall once it’s removed?
Yes, it is. You may have to lunch research to discover a recycling transfer location nearest to you that will take it, especially if the drywall contains asbestos. However, you cannot recycle drywall filled with mold, and you should handle it carefully. Put on eyes goggles, rubber gloves, and a respirator while removing the drywall. Then seal it in a trash bag before you dispose of.
Can I patch a hole using drywall tape?
You can use drywall tape or any self-adhesive drywall patch to patch over small holes, but there will be a need to use strong material to cover larger holes. Immediately you place this patch in position, tape, and apply joint compound on the seams, similar to the way you install new drywall.
Why does nail in drywall?
Nail pops are usually caused by the movement of wood or drywall and often show within one year of construction. After construction, the studs may shift or gently twist as the wood dries slowly. This can cause movement of each nail, and when this happens to nail holding drywall, the joint compound that covers the nail gets loosened.
What is the cost to professionally repair drywall?
When you get a professional repairer to handle the job, first drywall installation costs can be reasonably predicted, with an average between $1.50 and $2.00 per sq-ft. Almost the same amount will be required for replacement (excluding the cost of damaged materials removal).
However, there will be a difference in the cost to repair drywall based on the level and type of the problem. The price will be determined by the number of labor-hours as well as the required materials.
Can you use plywood to patch drywall?
Although plywood is often used to patch seams between drywall sheets, mud can be applied to plywood to create a smooth, professional output. Texture can also be created on plain walls by layering and spreading compound with different tools.
Can one recycle damaged drywall after removal?
Usually, yes. You may have to conduct some research to locate a recycling transfer station in your location that will accept it although, especially if asbestos is contained in it.
However, you cannot recycle moldy drywall; it should be carefully handled. Put on rubber gloves, eye goggles, as well as a respirator when removing it. Then get rid of it in properly sealed plastic bags.
Can holes in the drywall be repaired?
Drywall sheets are at higher risk of breaking and crumbling but can be repaired easily using drywall compound plus small sanding as well as painting. You will discover how you can patch drywall in a few easy procedures in this project guide. A comprehensive list of tools, as well as materials required to fix drywall, is given below.
What are the tools and supplies I will need to handle the repair work myself?
Some or all of the following tool will be needed to repair drywall:
- Drywall saw
- Flexible knives
- Screwdriver
- Tape drill
- Electronic stud finder
- Hacksaw
- Hammer
- Pry bar
- Sanding sponge
- Hand sander
- Inside corner knife
- Ladder
- Level
- Measure
- Utility knife
Also, you need to make plans to buy fresh drywall for patching, screws, drywall tape, drywall nails, as well as joint compound. You can also get spray-on elastic crack coating as it may come in handy.
There are also full drywall repair kits available on the market, including patches, which are in sizes starting from 4 by 4 to 8 by 8 or shaped to cover around electric outlets or heads of the sprinkler.
Visit your local hardware store or home center to get those.
Conclusion
We hope that you find these tips clear enough and helpful for your successful drywall repair. We look forward to your feedback. And in case you have any questions, please be sure to drop it in the comment section below.
Dallas Paints drywall experts here to help you with any damage drywall repairs. We are just a call away and we will solve the problem at once.