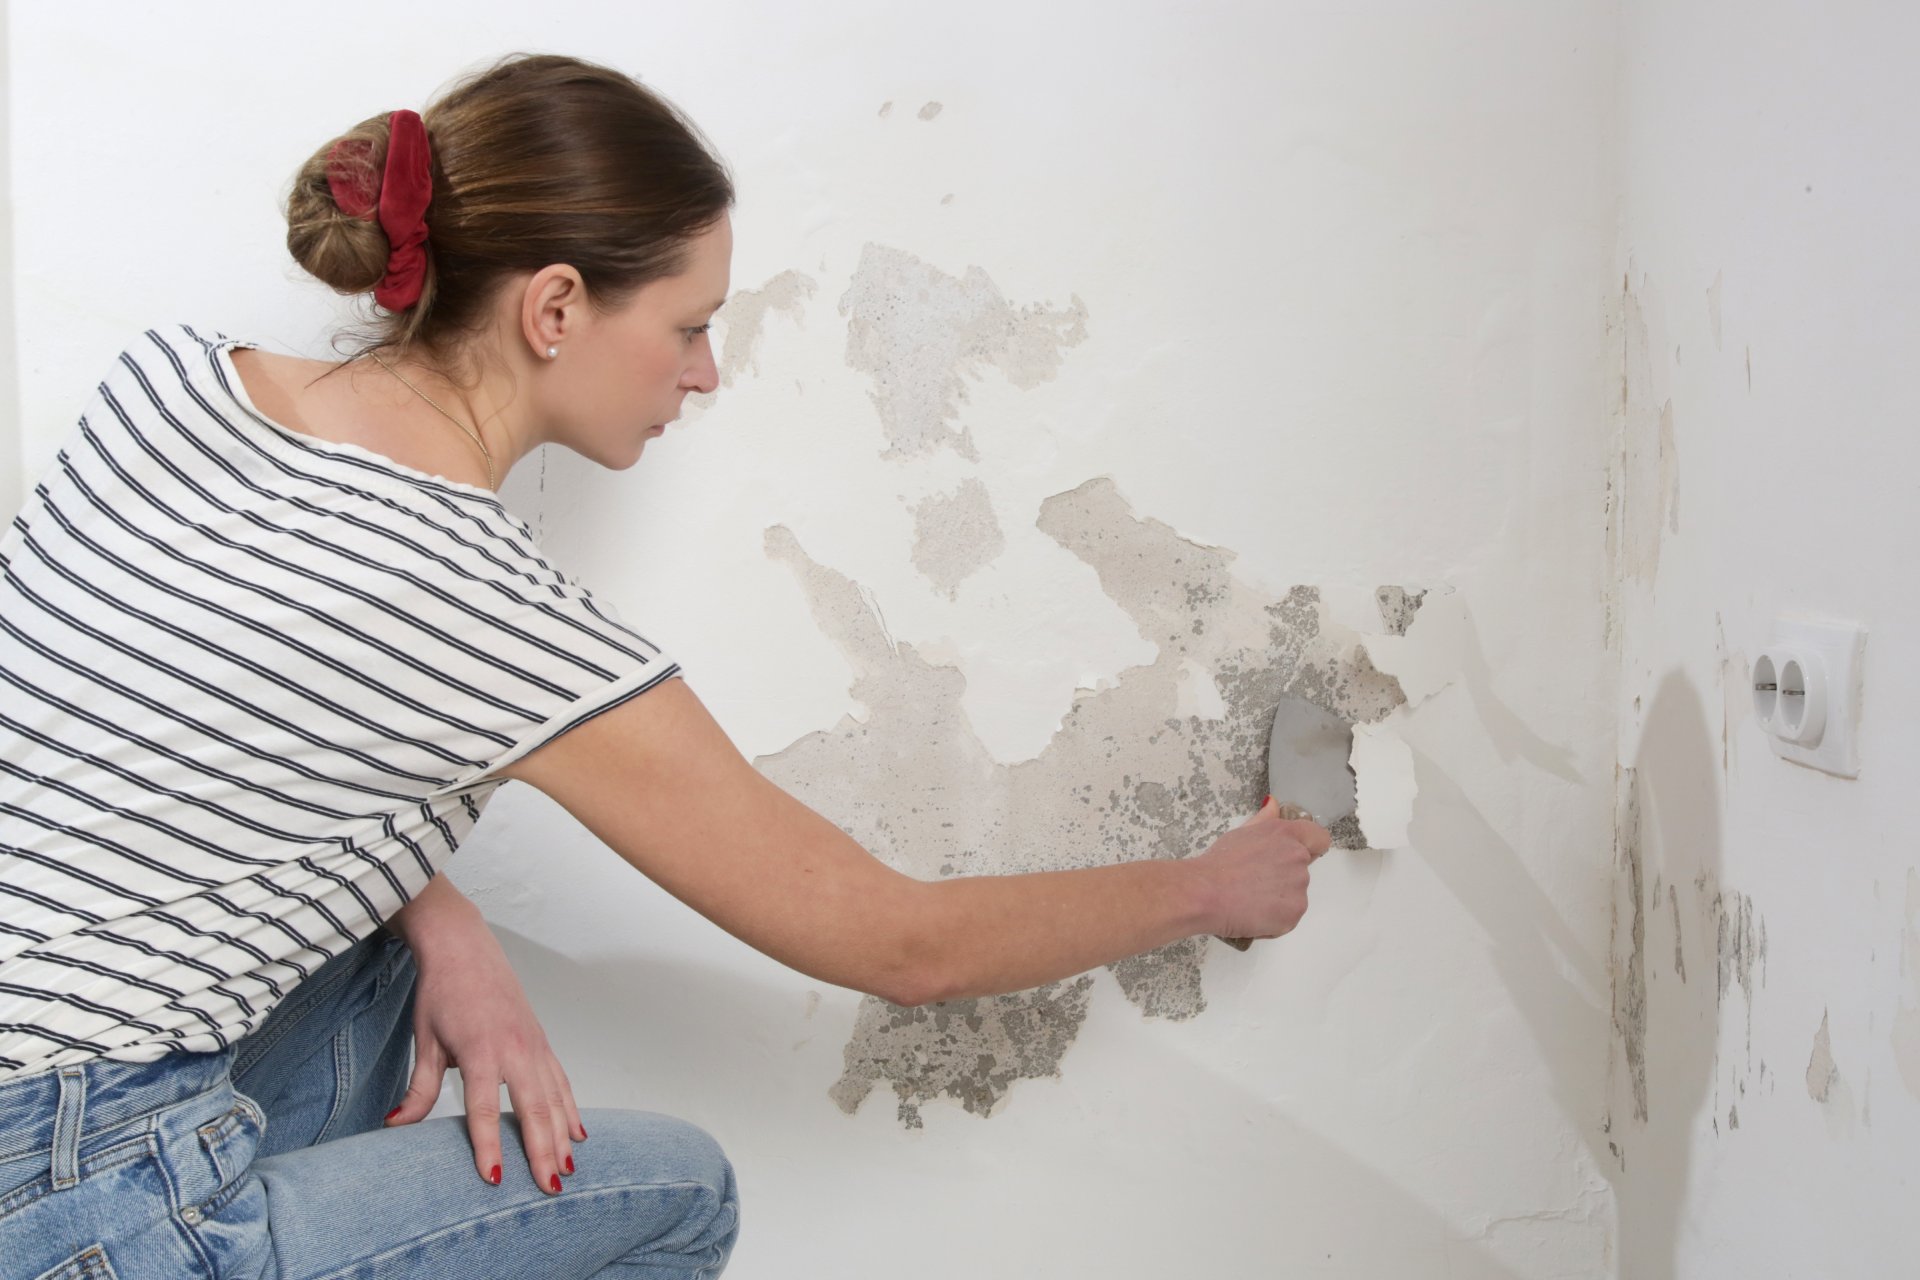
Sheetrock, also known as drywall, is quite simple to repair if you know what you’re doing. If you’re faced with an unsightly hole in your wall that you want to patch and fix as quickly as possible, you’ll be happy to know it can easily be undertaken as a DIY project, without having to worry about calling in the professionals.
So, if you ever find yourself wondering how to repair sheetrock, follow some of these handy tips to get your wall patched up and looking great once again. You’ll save money by handling the job yourself, and you’ll also feel great about learning some new things.
The Equipment Roundup
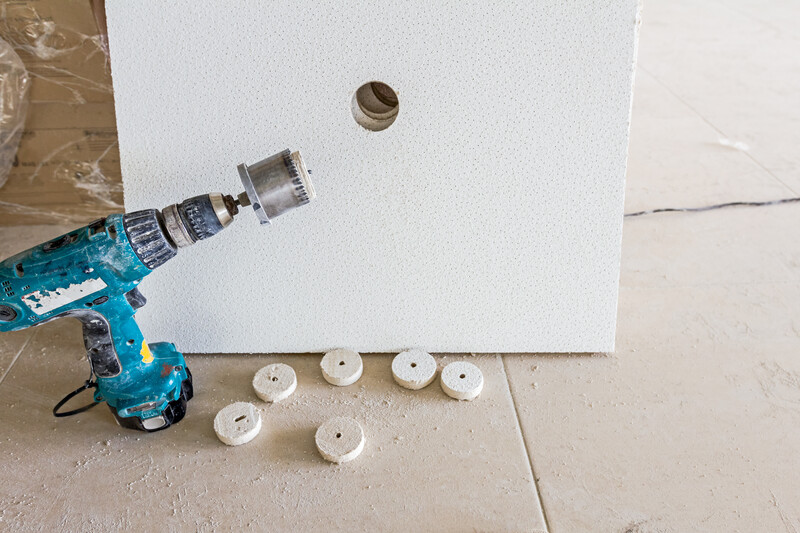
As with any other home repair job, you’re going to need to make sure you have the proper tools and materials before you get started on this task. Here are some of the things you’ll need to make your sheetrock repair a success.
- A sheetrock sander
- A dust mask
- A paintbrush
- A taping and utility knife
- Sheetrock saw
- Sheetrock
- Some joint compound
- Drywall screws and tape
Once you have all of the required tools and materials handy, you’re ready to move onto the repair phase: getting your sheetrock looking good as new.
Repairing a Hole in Your Sheetrock
Ready to get down to the nitty-gritty? Follow these steps when you’re ready to jump right into your DIY sheetrock repair project, with steps for bigger and smaller patch jobs.
Patching Large Holes in Sheetrock
Check for obstructions behind the wall before beginning
Before you go cutting into your wall, you’re going to want to ensure there are zero obstructions that could be damaged, leading to more trouble. You’ll want to make sure you don’t see any wires, pipes, or other such obstructions behind the wall before you get started with the repair process. Check carefully around the damaged area of your wall, and when you are sure there is nothing in the way, you’re ready to move onto the next step.
Cut out the damaged sheetrock
After making sure there is nothing that could potentially be damaged, get out your sheetrock saw and carefully remove the piece of sheetrock. Once it is completely removed, you’ll be ready to patch the resulting hole.
Get some backer boards into place
Using pine or any other kind of softwood, you’ll want to have some backer boards to screw into the sheetrock. Cut them to size, and then prepare to fasten them into place. A Sheetrock screw in each board will help bind them to the wall. You should then be ready to apply a new Sheetrock patch to the area.
It’s time to apply joint compound
With your joint compound handy, apply a bed of it (about an eighth of an inch thick, if possible) to the joints. When finished, apply some paper tape into the joint compound using a knife. As quickly as possible, you should put a nice, thin layer of the compound over the tape. You should then give the compound a little while to dry and move onto the next step.
Apply a few more coatings of a compound to the area
After the first coat of joint compound has dried, you should apply a second layer of joint compound over it, working it to around six inches past the edge of the patch. Let this coating dry, and you can then apply a third coating if you choose, just to make sure the entire area is evened out.
Once the compound is dry, give it a thorough sanding
Your last step for this job is to sand the dried compound with sandpaper. This will help remove any ridges left in the Sheetrock, as well as help even out and blend the patch together. When this is finished, you’re free to paint your newly patched area.
Patching Small Holes in Sheetrock
Smaller holes in the wall can commonly be caused by nails and screws that have popped. While still irritating, these are smaller areas to handle and can be much quicker and easier to patch as a DIY project that you can handle yourself.
If you’re dealing with a nail that has popped, drive it into the Sheetrock surface
Use a hammer to drive the nail just below the surface of your Sheetrock, and then cut away any resulting loose compound.
Drive-in some new Sheetrock screws
Measure an area about an inch and a half both above and below the area where the nail has popped. Mark these areas with a marker so you know where to drive in your Sheetrock screws, and then drive them into the drywall in the marked areas.
Bring in the joint compound
Once your Sheetrock screws are driven into the wall, you are ready to use a compound to fill the holes. Swipe your compound across and down in each area, and then let this first coating dry. Just like with larger holes, you should apply a second coating, and then a third if you want to make sure the area is completely evened out. Sand the area down with sandpaper, and then you’ll be ready to apply new paint.
Repairing Sheetrock Frequently Asked Questions
If this is your first time handling a DIY sheetrock repair, it wouldn’t be too shocking if you had some questions to ask before getting started. Here are some of the most common questions asked about this procedure, so double check here to see if there is already an answer to your question!
Can I use a spackle to repair Sheetrock myself?
Yes, spackle can easily be used to fix smaller holes in your Sheetrock. This is because Spackle is made just for this purpose, covering up any small holes or cracks in your wall. To get it done, just use a putty knife to apply Spackle over the affected area, and then you will be free to paint over it. Your newly fixed wall will look like it was never damaged, to begin with.
What causes nail pops in Sheetrock?
Nail pops are most commonly caused when nails end up loose and pop out of the Sheetrock surface. When this happens, the nail pop will end up pushing some of the Sheetrock out, which causes cracks and tiny bumps in the surface of the drywall.
Should I use a spackle or joint compound for Sheetrock repairs?
This depends on how big the hole that needs patching is. If it is a smaller hole, it is fine to use spackle. Larger holes should be addressed with joint compound.
What is Sheetrock, and why do people use it?
Sheetrock is made using a sheet of gypsum with a paper-covered facing and a backing covered with a paperboard. Sheetrock is used as interior walls of buildings and also to wrap columns to hide steel beams, and it is also a cheaper and easier method of topping off masonry walls over ceilings.
You can also use drywall to add resistance to ceilings and walls and restrict the spread of fire so people can safely evacuate during an emergency. Fire cannot easily burn through the Sheetrock.
Why is drywall referred to as drywall or sheetrock?
The name drywall was given as a result of the absence of water in the materials used to prepare the walls. One main problem associated with plastering is that it takes a lot of time to dry because it was wet when installed, and the installers cannot install a new layer until the previous one dries.
Other construction works must be put on hold when walls were plastered until the wall dries. You don’t have to wait after the installation of sheetrock, also referred to as gypsum board, which is one of the advantages it has when it was first introduced.
Sheetrock is one of the registered trademarks for drywall in the United States Gypsum Company. The Sheetrock is almost similar to every other drywall only when we ignore the presence of chemicals that allows its formula to be patented.
You can use any sheetrock as materials for constructing walls and ceilings; however, there are differences in the creation of each drywall; some drywall material contains a high volume of sulfur that can cause health issues and also pose a great risk to the building itself.
Why do they taper Sheetrock?
This is because we can fill in the taper using the joint compound. The Sheetrock tape and joint compound can be filled in using the triangle Sheetrock taper in order to avoid the bulging. We advise that you make tapered joins when possible in order to hide the seam properly.
How big does a hole have to be before you can patch in Sheetrock?
There is a very clear difference in repairing a small hole in the Sheetrock and a large hole in Sheetrock, which starts from six or eight inches. One can easily patch small holes with a self-adhesive drywall patch or drywall tape; however, one needs to gather more solid material to patch large holes.
How can one repair torn Sheetrock?
Use a six-inch Sheetrock knife to spread a light layer of multipurpose joint compound (mud) over the surface of the hole. Flat-scrape it and feather the boundaries of the patch into the surrounding surface, and allow it to sit for eight to twelve hours. Spread and flat-scrape a second layer on the first layer, and that should probably do the trick.
Is replacement the only solution to sheetrock if it gets wet?
Sadly, it would help if you replaced the water-damaged Sheetrock. Wetness moves in an upward direction right from the flooring to the Sheetrock, in-between the wall cavities. This is why you must check by removing the baseboards. You may have to dry or maybe replace the drywall if it is soft or distorted.
Can I paint over ripped Sheetrock?
You need to seal the ripped Sheetrock as the gypsum is capable of absorbing the moisture from the latex paints you use. You may consider using some drywall primer and sealer or better, an oil-based paint that you promised yourself to use or dispose of, but somehow still remain in your home.
Become a DIY Pro
While nobody wants to have to take on the job of patching up holes in their Sheetrock, many people who handle this task DIY style find that it is a much easier job than they thought it would be.
With the right tools and materials in hand, along with knowing just what to do when the time comes to patch up your Sheetrock, you can handle this job just like the professional painters do.