Drywall installation comes with its technical know-how. Check out these common drywall installation mistakes and the ways to avoid them
On the surface, drywall installation might seem like the perfect DIY project. How hard can it really be to put drywall boards in place? After all, they come in neat boards of clean 90 degree angles, are fairly light, and certainly appear innocent and straightforward.
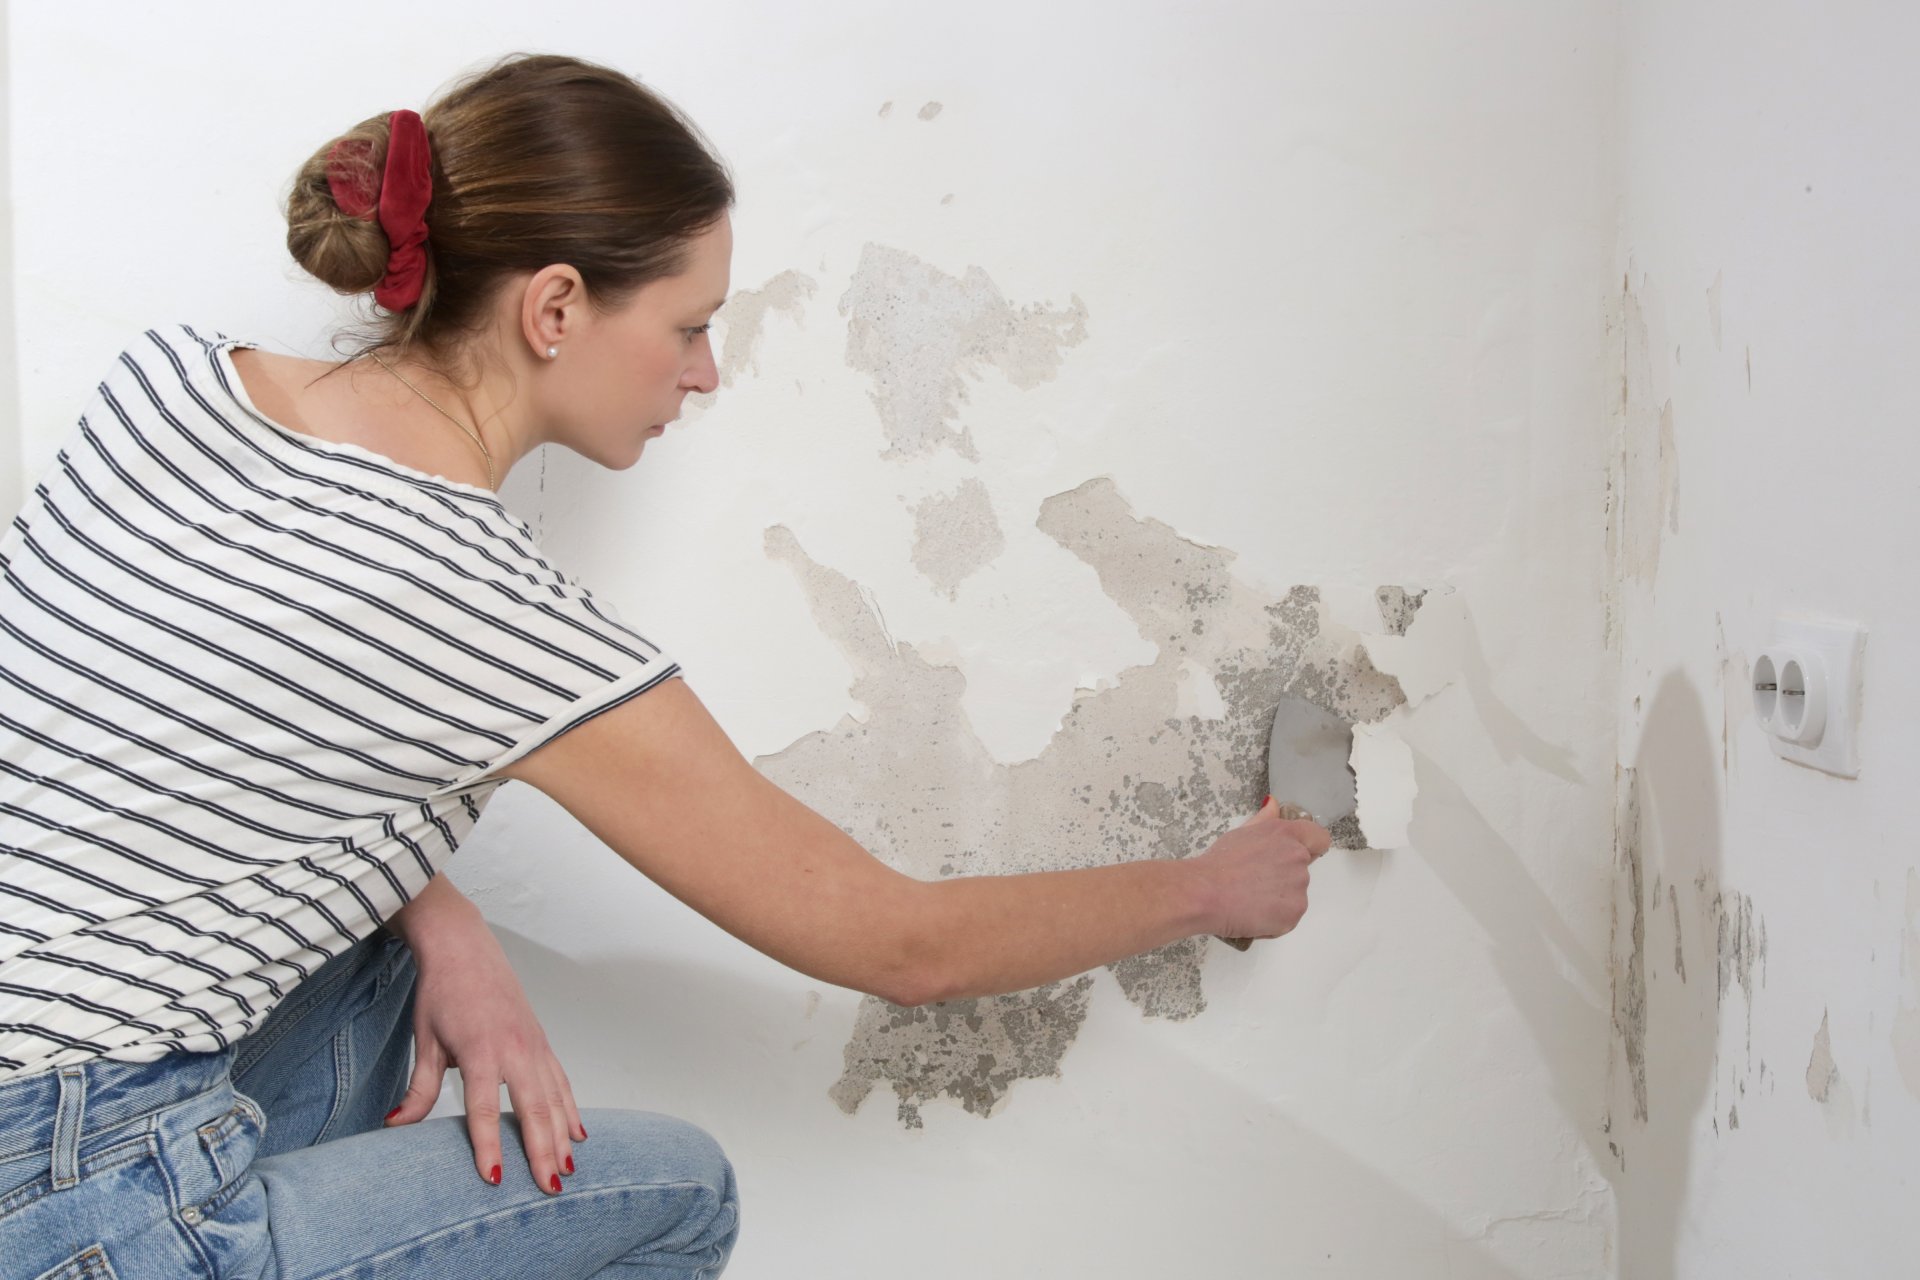
Drywall installation presents the perfect trap, appearing to be simple but offering many opportunities for mistakes that will produce long-lasting problems in your walls and coats of paint.
There is a long list of common drywall mistakes that professionals encounter time and again when they’re called in for an emergency fix. Common drywall installation mistakes include tapered edges, edge support, minimizing joints, framing locations, and fit before fastening. During drywall installation in your home, the desired finish has critical influence on the process and can only be achieved with foresight and mistake avoidance.
It is highly recommended to engage the services of an experienced professional when installing drywall. Although the reduced cost of DIY is certainly appealing, the added investment of expert services will likely save you money in the long run and ensure that the look you desire for the room is flawlessly achieved.
These are some of the common mistakes that occur when installing drywall without a strong background and experience with the material:
1. Missing Edge Support
Supporting edges are a critical element in drywall installation. Boards cannot be fastened correctly, ceilings cannot be constructed, walls cannot be stable without edge support. You need to ensure that you always check the framing before you begin to put up your drywall.
How to avoid:
You must have a minimum of 1 inch of exposed framing at every corner. Always check the edges of drywall boards on the ceiling to ensure this exposed frame is present at the edges. Boards can be screwed in at an angle to add blocking in case you lack a hammer.
2. Drilling Screws Too Deep in the Drywall
When the nails or screws are driven too deep into the drywall, they can break into the surface of the drywall. It may seem unimportant at first, but over-screwing creates a broken paper face which weakens the power of the nail to hold. Counterintuitively, the deeper you drive the screw in, the weaker the wall becomes.
How to avoid: The trick is to drive the screw or nailhead to the sweet spot at the surface. SCG Self-Drilling Wing Screw is useful in regulating the depths. Stay away from oversized third-party screws for best outcomes. One other thing to observe here is that if the paper surface gets punctured, just leave it and drive another screw or nail close to the previous one.
3. Drywall not Placed on a Stud
The edges of the entire sheet of drywall must stay on a strong surface like a stud. When the edge of drywall is hanging, it may appear to work in the short term, but in the future it will lead to cracks and other severe wall problems. In some cases, the drywall does not reach a horizontal stud, in others, there is not vertical stud. Keep an eye out for both – they are critical to long-term wall stability.
How to avoid: When drywall stretches a few inches beyond a stud, you can add a second stud to create a joint point for the drywall. If the drywall doesn’t get to a solid section vertically, a little piece of 2×4 can be cut to the width of the stud base. You can then nail it horizontally on every side to fit inside the bay.
4. Assuming the Locations of your Framing
When looking at a drywall board it is difficult to determine where the framing is found unless you have X-Ray vision. Some people lazily guess where the framing is without making the full effort to locate. Mark the framing location before you cover it with the drywall. Otherwise, your screws will attach the drywall to nothing but air.
How to avoid: A great method is to mark the locations and use them as a guide so you can pencil in a line over. That will make sure you can screw in properly and efficiently.
Make sure the location of the ceiling joists are marked on the top of the wall framing before marking the middle of each stud on the floor below.
Always remember this with any different framing so you know the actual point to screw in your screws immediately after you’ve covered it with drywall. Then, when the ceiling drywall is in position, you can use a pencil to mark the stud locations directly on the ceiling before you proceed with the rest of the drywall installation.
5. Over-Sanding the Surface of the Drywall
Sure, aesthetics is important in every construction and you may desire a perfectly smooth surface by sanding the drywall. Too much sanding of the drywall surface to get perfect smoothness is overkill as it will damage the surface of the seam. The trick here is to sand moderately without being aggressive.
6. Not Fitting Before Fastening
Let’s say, for example, there is an electric outlet in the wall where you are installing drywall. You may have an urge to simply force the drywall on to the outlet box and end up breaking the drywall. Sometimes, it feels like you have as specific measurements as possible yet there will always be an outlet box that just seems to be a bit out of position. Frustration ensues.
How to avoid: Avoid putting up the drywall with the hope that you can trim the opening afterwards; you could end up breaking your drywall and spend more time than necessary to fix it.
Make sure you fit before you fasten. Take a precise measurement and immediately cut out the opening on the drywall, try to hold the drywall up to the area, and ensure the fit is perfect before you continue to fasten it in place.
When fitted, trim any extra drywall and line it up to the boundaries tightly with the use of a utility knife. Then you should be able to slide the drywall easily into position over the outlet box.
7. Failing to Cut Tapered Edges
When you cut the drywall for fit, it will often not work as you planned. The drywall tends to crumble at the boundaries or just chip at the corner. You will be forced to remove it and start all over, delaying your project and costing you time and money.
How to avoid: Make sure you leave a 1/8” gap on each edge so it is properly tapered. It is easier to fill in the gap later than to replace the whole drywall sheet.
8. Too Tight Drywall Joints
Tightened drywall joints can break the drywall when you least expect it since it will not allow the expansion and contraction of the framing bodies. This will then lead to cracking of the drywall joints that are too tight.
How to avoid: If you make this mistake, there is no way of reversing history to fix it, but you can prevent it by watching an experienced professional who can teach you how to properly tighten the joints.
9. Excessive Joints During Drywall Installation
Don’t create too many unnecessary joints as it will add to your workload and make the whole job messier. Taping drywall can consume much of your time and is certainly hard enough as it is without the need to apply additional joints. Consider the use of the largest and longest drywall sheet available.
How to avoid: Purchasing excess materials is preferable to discovering a shortage. Order extra 54” wide drywall sheets for your basic room to avoid the additional horizontal joint. These custom drywall sheets are available at almost any home improvement retail outlet. Don’t allow the bulkiness or discomfort of transferring the sheets discourage you from ordering; you can usually request delivery.
10. Failed Drywall Joints
Normally, all joints inside drywall panels would fall on framing members, where the two edges can be securely screwed down – top, bottom, and the two sides.
This is usually not the case, though, and in cases where a seam between the panels drops over the air, referred to as a hanging joint, failure of the joint is possible. The lure is to just lay the tape down and apply mud on it and hope for the best. However, this ad hoc fix doesn’t usually work.
In a few months these makeshift joints will fail and cause noticeable cracks. Put in a true effort to avoid hanging joints. The longer the hanging joint is, the more likely it will fail.
How to avoid: When installing very tall walls, use long panels to cover the walls horizontally, so that the hanging joints have support from studs at every 16 inches. Any hanging joints beyond 16 inches in the span might fail, so an alternative solution is to screw in additional stud or sleeper blocking to create a surface to nail the joint.
Wrapping Up
The construction era is evolving, and drywall is becoming a more popular choice of building material. Because it is a fairly new technology, it is critical to absorb comprehensive knowledge about its installation to achieve a flawless job and the long-term results you desire.
Installing Drywall in the Dallas, TX Area
If you are engaging in a drywall project in the Dallas area, Contact Dallas Paints for a consultation with an experienced professional. We are happy to assist you in achieving your interior decor dreams, from drywall to paints, textures, and more with remarkable customer service and a satisfaction guarantee.
Call us at (214) 978-4400, or click here to get a free, clear and fair estimate.