Just as we have several techniques in getting different things done, so also we have techniques that can help to make paint a wall as easily as possible. We will take a look at how you can easily paint a room fast and also easy as well.
It may seem like painting a wall so fast and easy and getting a great result is impossible, but the truth is that it is possible to get a good and uniform finish while employing these techniques that can help to make painting as easy as it gets.
These techniques might be contrary to what you have heard about painting, but if well managed and executed, you will get a good result. You will not only get a good result but you will also save yourself a lot of time and stress. The ideas and techniques shared here is one that can be helpful for Dallas painters and other individuals who may wish to paint their walls themselves.
Clean fast with Trisodium Phosphate (TSD)
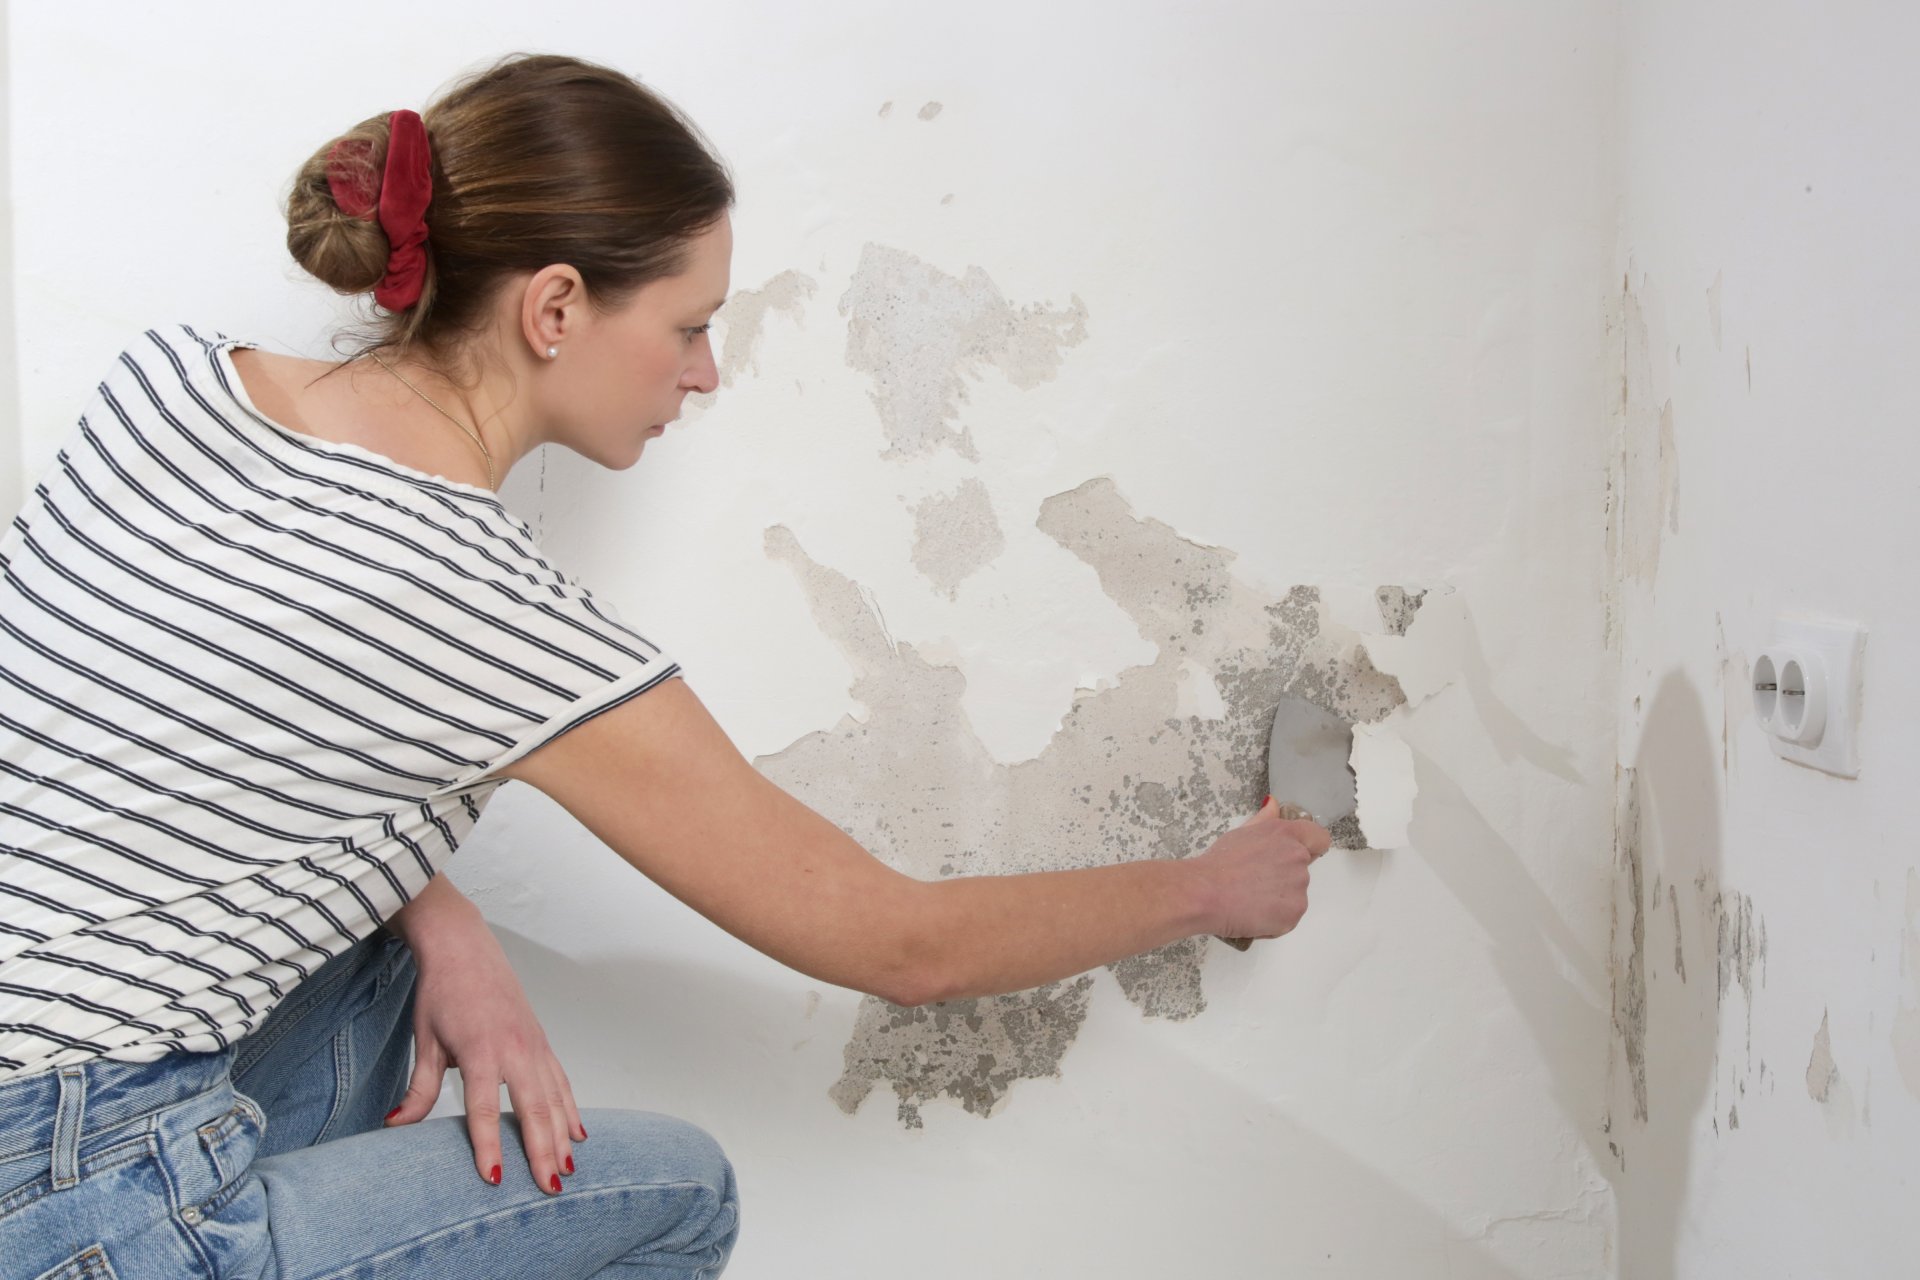
The first thing to do is to make sure your wall surfaces are clean so that the paint will adhere seamlessly to previously painted woods and walls. Use a sponge and TSD to wash off soot, dirt, and grime as fast as possible. TSP helps to clean very fast without much scrubbing, thus saving you the stress and energy needed in scrubbing.
Buy the TSP concentrate and mix with water; it gives better value than liquid TSP. It is not so expensive, a 16-oz box costs around $5 and you can get it at home centers.
Ensure to use TSP on every part of your woodwork. The TSP etches the paint, thus allowing the paint to form a good bond. Also apply it in bathrooms to remove hairsprays, around light switches to remove fingerprints, and in kitchens to remove grease stains from the walls. Turn up the cuffs and wear rubber gloves in order to keep the TSP solution from staining your arm.
Strain out Goobers
Spend a few minutes straining out the goobers. Most times you can still find strands or small chunks of hard paint it even when you brought the paint home from the store with the container sealed. If those strands and chunks end up on the wall, you will start to pick them out and reroll the area, this could take time.
Hence, it is recommended that you should buy a paint strainer to strain the paint. Place the strainer over a bucket of paints and pour the paint through the strainer. The strainer will catch all debris in the paint. Rinse the strainer in the sink and you can reuse it.
Paint window sashes faster
Most people who wish to paint their homes by themselves end up staining the glass when painting the windows and would have to start scraping it off. However, if you are good with a paintbrush, it will be possible for you to cut in along the glass. This way, you will not have to scrape and you will be able to leave the paint seal intact between the glass and the wood.
Lay off the paint on the sash and load your brush, staying about in 0.5 inches from the glass. As soon as you notice that the brush is about half unloaded, go back and closely cut in. Allow the brush bristle just slightly to touch the glass so that the paint seals the tiny gap between the glass and the wood. In case you have paint dripping on the window, scrape it off with a razor as soon as it dries.
Groove textured ceilings
Frankly speaking, it is hard to paint a rough-textured ceiling without getting paint on the ceiling. The problem here is that taping off the ceiling still might not work, the solution to this is to knock off the texture at the edge using a putty knife.
Hold the knife at a 45- degree angle against the wall and then run the blade along the edge of the ceiling. The blade will help to scrape the texture away leaving small grooves in the ceiling. Afterward, you can clean out the groove with a dry paintbrush and duster.
After cutting along the wall, the paintbrush brittles will slide into the groove, this will give you a crisp paint line without getting the ceiling stained with paint. The thin line of missing texture will automatically disappear.
Cut in fast with a steady hand
To cut in along the trim that is not protected by masking tape requires a steady hand. Once you get the technique behind doing this, you will not want to fuss with taping trim again. Although, cutting it can be difficult if you are doing it yourself, but you can still learn the trick.
Use a tapered paintbrush to cut in, the angled bristles will uniformly unload the paint. Dip the brush into the paint, tap each side against your container in order to cut off the excess, avoid wiping. Brush the paint on the wall, as about 0.5 inches from the trim.
Make a second pass, cutting in all the way to the trim and avoid pushing the paint with the bristles, else, you will leave a ridge in the area you are cutting in. Apply reasonable pressure so that the bristle ends can glide around the trim. In order to keep the brush steady, ensure that you move your entire arm as you paint instead of moving your arm from the elbow down.
Other things you need to do is to use extenders to avoid do-overs; cut in one wall at a time, avoid rushing; spend less time taping; check out for mistakes; keep a garbage bag nearby where you can dispose waste.
Painting made easy – 11 Tips to easily paint a Wall
There were a lot of things that made the painting job easier that I wished I was aware of many projects ago. Below are 11 tips to easily paint a wall as recommended by experts:
#1 Wear your Masking Tape
The preparatory works that precede painting may seem daunting, but you just have to do it. By wearing your masking tape, you can save time and also reduce stress. You may decide to wear the tape around your neck with a twine length or cut off the toe from an old sock and place wrap it on your wrist before rolling your tape on it as a bracelet.
#2 Make use of Instant Drying Filler
Fill all the little cracks and nail holes in your walls using instant drying spackling. Most of it changes color immediately they dry, so you can’t know exactly when to sand and begin painting.
#3 Use Builder’s Paper instead of Drop Cloths
Using drop cloths on hardwood floors is risky as they are very slippery, and can fall ladders. Buy a roll of builder’s paper to the edges of the room and, at the same time, protect your floors easily. You will be able to get the entire paint job done easily, faster, and safer, and clean-up will be a breeze.
#4 Bucket instead of a Tray
This doesn’t imply that you must buy many gallons of paint. This rather means that instead of pouring the paint from a gallon into a tray, you can easily pour the entire paint into a bucket with a painted screen. Loading paint this way is very easier and reduces mess. However, if you are working on a small space such as a kitchen or bathroom, you can still use a tray, but if you are using up to a gallon or more of paint, then you will definitely use a bucket.
#5 Connect an Extension Rod to your Roller
I love using the 24 inches extension rod grabbed off a wooden broom handle most often. It is very useful in reaching some places you naturally may not get to. However, you can always purchase fancy extension rods at the nearest hardware or big-box store.
#6 Press & Seal Protection
If you need self-sticking masking material for objects like vanities, toilet tanks, or light fixtures, you can turn to the Glad Press & Seal wrap. Unlike the drop cloth, this material will stay in place and protect your appliances from splatters.
#7 Apply Paint Pad on Trim and Awkward Places
When you use a paint pad, you can quickly cut around windows and molding neatly, and also get the chance to get rid of some masking. To make a very flat painting tool that will get to tight spaces such as behind a toilet, simply remove a paint pad cap from its applicator and glue it to a paint stick.
#8 Buy Good Brushes
For a long time, I’ve been staying away from purchasing good paintbrushes due to its cost. Then at a time, I bought one of these paintbrushes, and I honestly feel the difference. I thought that the brushes are overrated until I get to use it. They are very comfortable to use and gives a nice line.
The short-handed wooden version wasn’t as comfortable in my hand when tried. Although I always use my painting equipment recklessly, I do ensure that I clean and wrap the bristles on these to make sure they remain in good condition.
Note: These brushes are so effective that I had to stop using tape in rooms many years ago and just focused on the brush as a steady hand when cutting in all of the trim and walls. It works so well and saves me a lot of time, materials, and mess.
#9 Line your Equipment
Clean up becomes an easy task when you line up your paint trays using aluminum foil. Allow the paint to dry and remove the foil. If you decide to use a bucket, make sure you line it using a clear garbage bag or plastic and hole it around the bucket’s edge using tape. Lift and remove it, and it will be like you never used the bucket.
#10 Perform Cutting in using a Lined Pail
Cutting in basically means to the entire boundaries and corners of a room using a brush. It usually involves standing on a step-stool or ladder to reach the edge around the ceiling, and you need to reload your brush with paint frequently. Although I’ve tried to stay away from tools that don’t have a catch, the handy paint pail or other similar lined paint pails have been proven efficient and useful.
Although their liners are very costly, it gives me one less item to clean, so the expense is still a win for me. The handle is also very helpful as I can hold the pail while on the ladder rather than going up and down the ladder just to scoop a handful of paint.
#11 Wrap your Painting Tools for the Night
If you are unable to complete the job before the day is over, wrap your painting tools such as trays, rollers, and brushes using plastic wrap. They will remain wet till the next morning, and this can save you from having to wash them up once the job is completed.
Frequently Asked Questions
Where do you begin when you want to paint a wall?
Start painting from the trim. Carefully dip the top edge of your paintbrush in the paint at about two inches, and leave the excess to fall off. Then, lightly brush the paint onto the wall using the edge of the brush, starting from one of the rooms’ top corners.
What should I apply before I paint a wall?
With a top-quality primer, you can easily hide any small flaws on walls. Apply a nice water-based primer on brand new drywall. Use oil-based primer on walls that contain many stains from smoke or water damage, or if there is paneling in the wall. Use painters tape to protect wall trim and sconces before you start painting.
What area of the room should I first paint?
Paint the ceiling and the walls if you are painting an entire room. Painting large areas such as walls before you repaint the trim is always nice, as this will enable you to work faster and cover much-exposed areas. This could, however, lead to roller spatters, occasional errant brush strokes, and paint overspray.
What quantity of coats of paint can you apply on a wall?
2 coats. Apply 2 coats of your new color on the wall for repainting. You may need to get more than two coats of paint if you are painting over a darker color with a lighter color to avoid the appearance of the old color. It will be nice to repaint painted surfaces if you like the surface but still desire more cover-up.
What kind of paint do you apply on walls?
Trim and woodwork are best painted with semi-gloss and gloss paint, while interior walls are best painted using flat, eggshell, and satin paint. I personally like using flat paint due to its beautiful look, but many people prefer using eggshell paint because of its soft glowy look when light hits.
Can you apply excessive layers of paint on a wall?
There is no limitation when painting the walls. You can sand off any paint piles and repaint it using two coats of your new color. Painting over a darker color with lighter color might require beyond two coats of paint to permanently keep the older color from showing.
Will roller marks disappear when the paint dries?
Roller marks are often referred to as holidays by painters and are normal occurrences when you are painting with a roller, and there are different methods of preventing them. Immediately you sight holidays after the paint has dried, do a little sanding, and apply another coat to get rid of them.
What kind of paint roller gives the smoothest finish?
The medium 3/6 nap roller for ceilings and drywall performs the best work. The small ¼ nap roller is perfect for walls, metal, and wood. The foam rollers also give the smoothest finish. The best rollers for light-medium textured surfaces are the microfiber rollers.
How many times is a paint roller usable?
If you prefer to use the cheap rollers, then get a masking tape, wrap it around them and remove it thrice before use. This will remove the loose lint that may destroy your paint job. You can always re-use them till it wears off.
How do I end up with a smooth finish using a roller?
Use a top-quality roller cage as a cover for a sturdy roller cage. To get a lamb’s wool cover, be ready to spend a few dollars more, but the wool is capable of holding and dispersing the paint evenly. The thickness of the roller nap will determine the quantity of texture that will be left on the finished wall. Use a 3/8 to ½ inch nap to get a smooth look.
What is the 2020 most popular wall color?
According to Sherwin-Williams director of color marketing, Sue Wadden, he gives explanations on how this year’s choice of color was influenced by some of the natural world’s most dramatic elements. Naval is made our perfect pick for 2020 color of the year due to the versatility and timeless nature of navy blue.
Conclusion
You are surely ready to tackle your room painting as quickly as you can with the time-saving tips discussed in this article. These tips and tools are from a DIYers’ perspective, which has been proven to work effectively well in the past; however, there are many other ways the wall can be painted. I will love to hear from you if you have some unique tips you want to share. Remember, Dallas Paints is always available to handle your painting jobs at the most affordable cost.