Elevate your old house with a fresh coat of paint: the essential do's and don'ts for interior and exterior transformations that last.
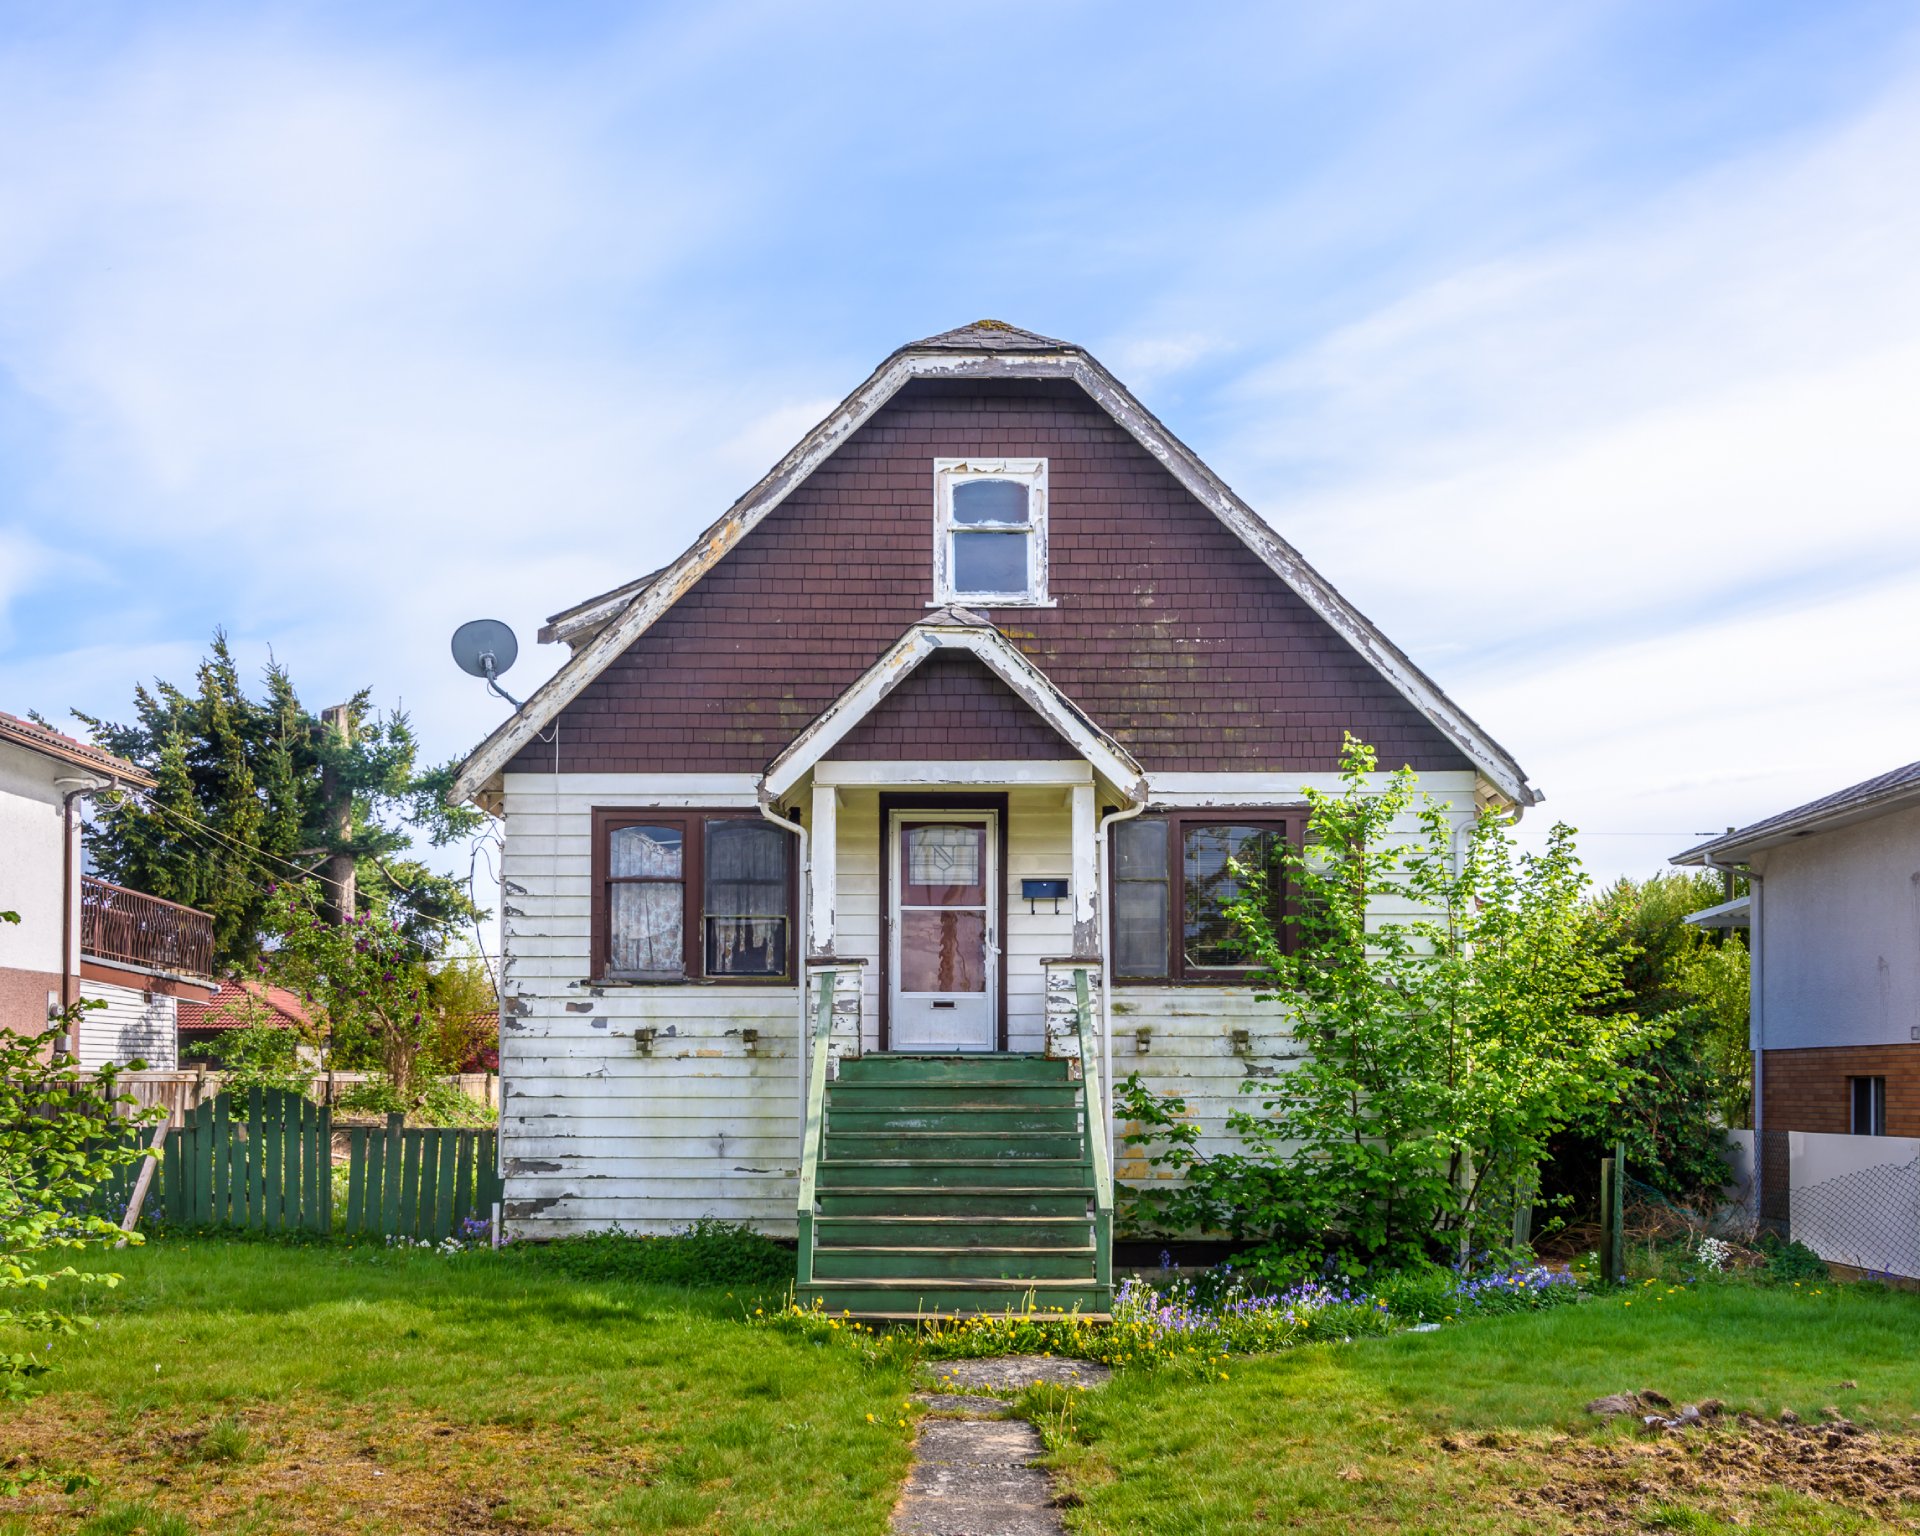
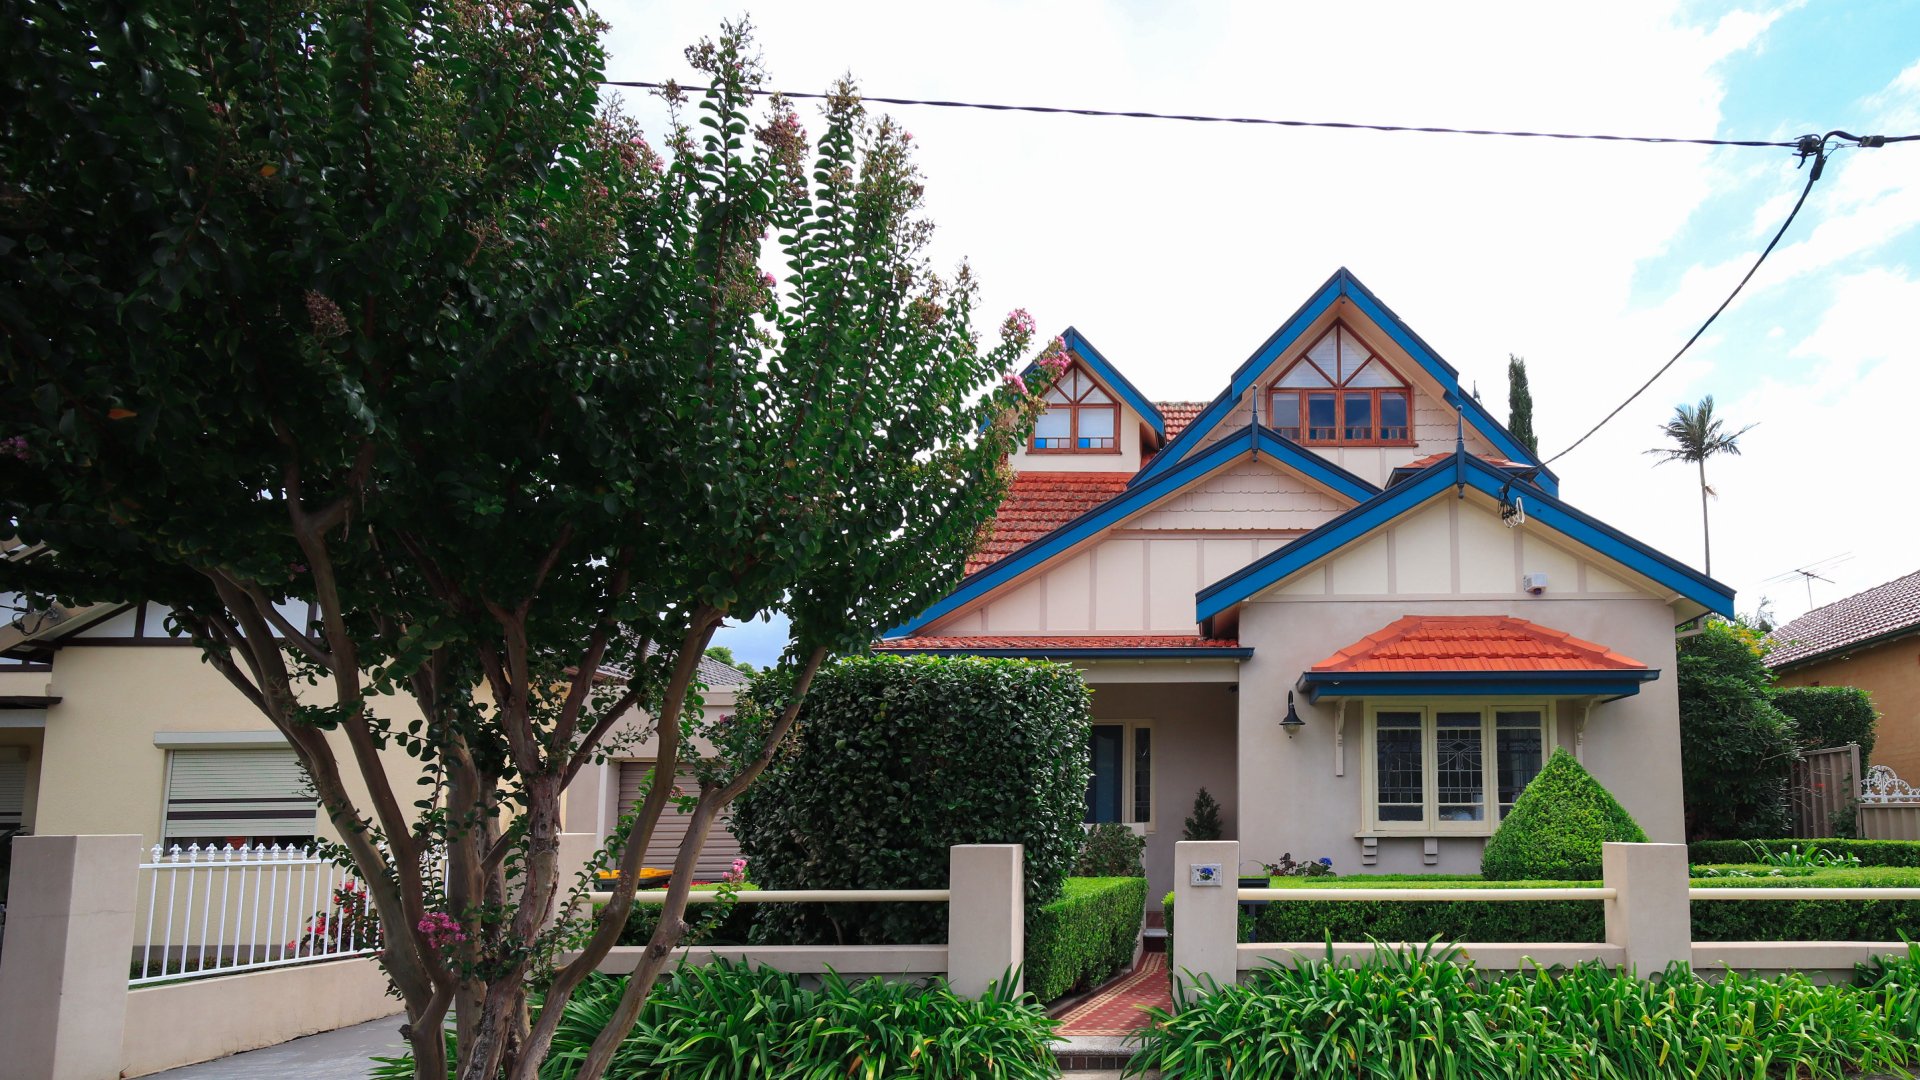
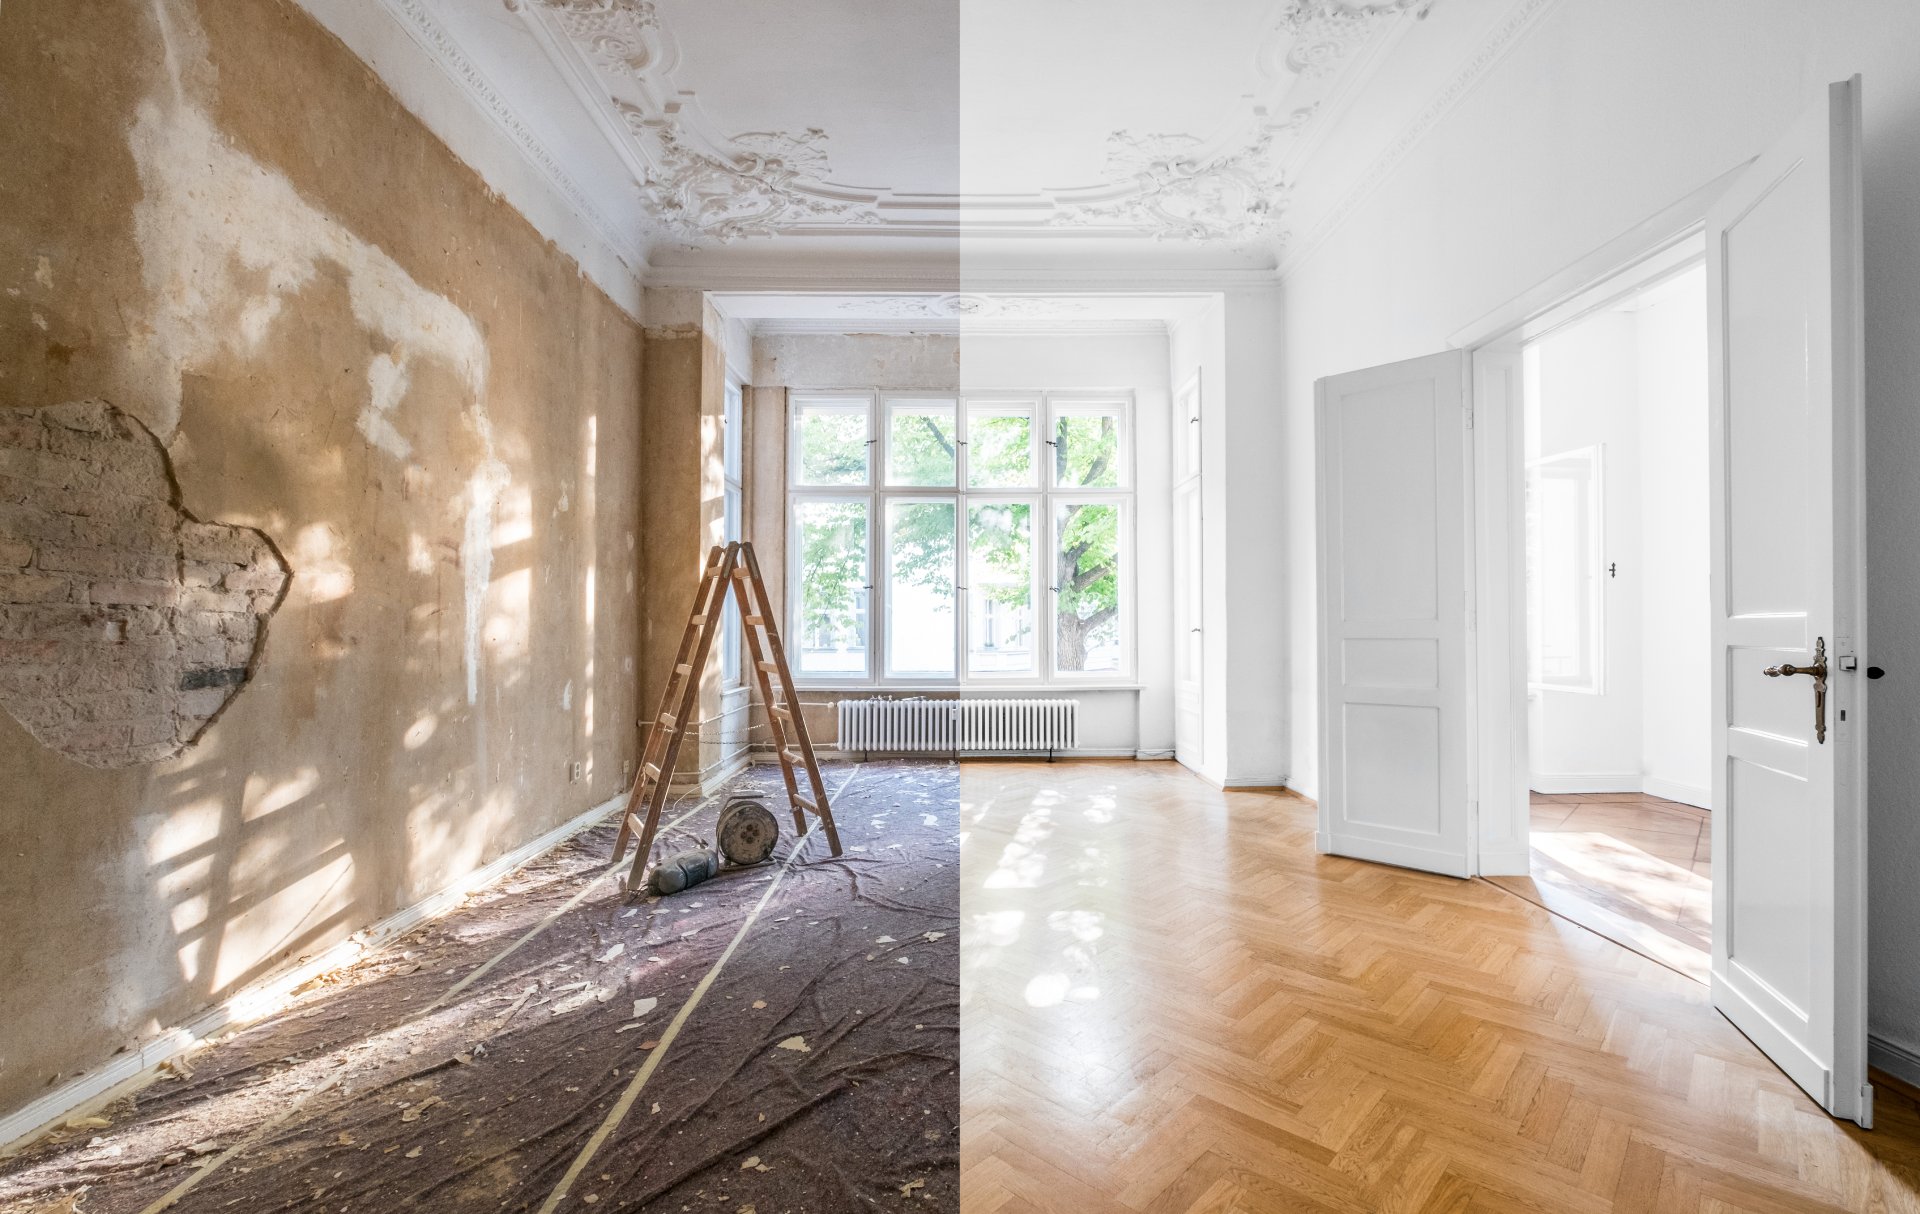
Old houses have an inherent allure that modern structures often lack. However, the years can be harsh on these charming homes, causing them to appear rundown. If you’re contemplating exterior painting or interior painting for an old home, this do’s and don’ts guide has a wealth of pro tips to ensure success.
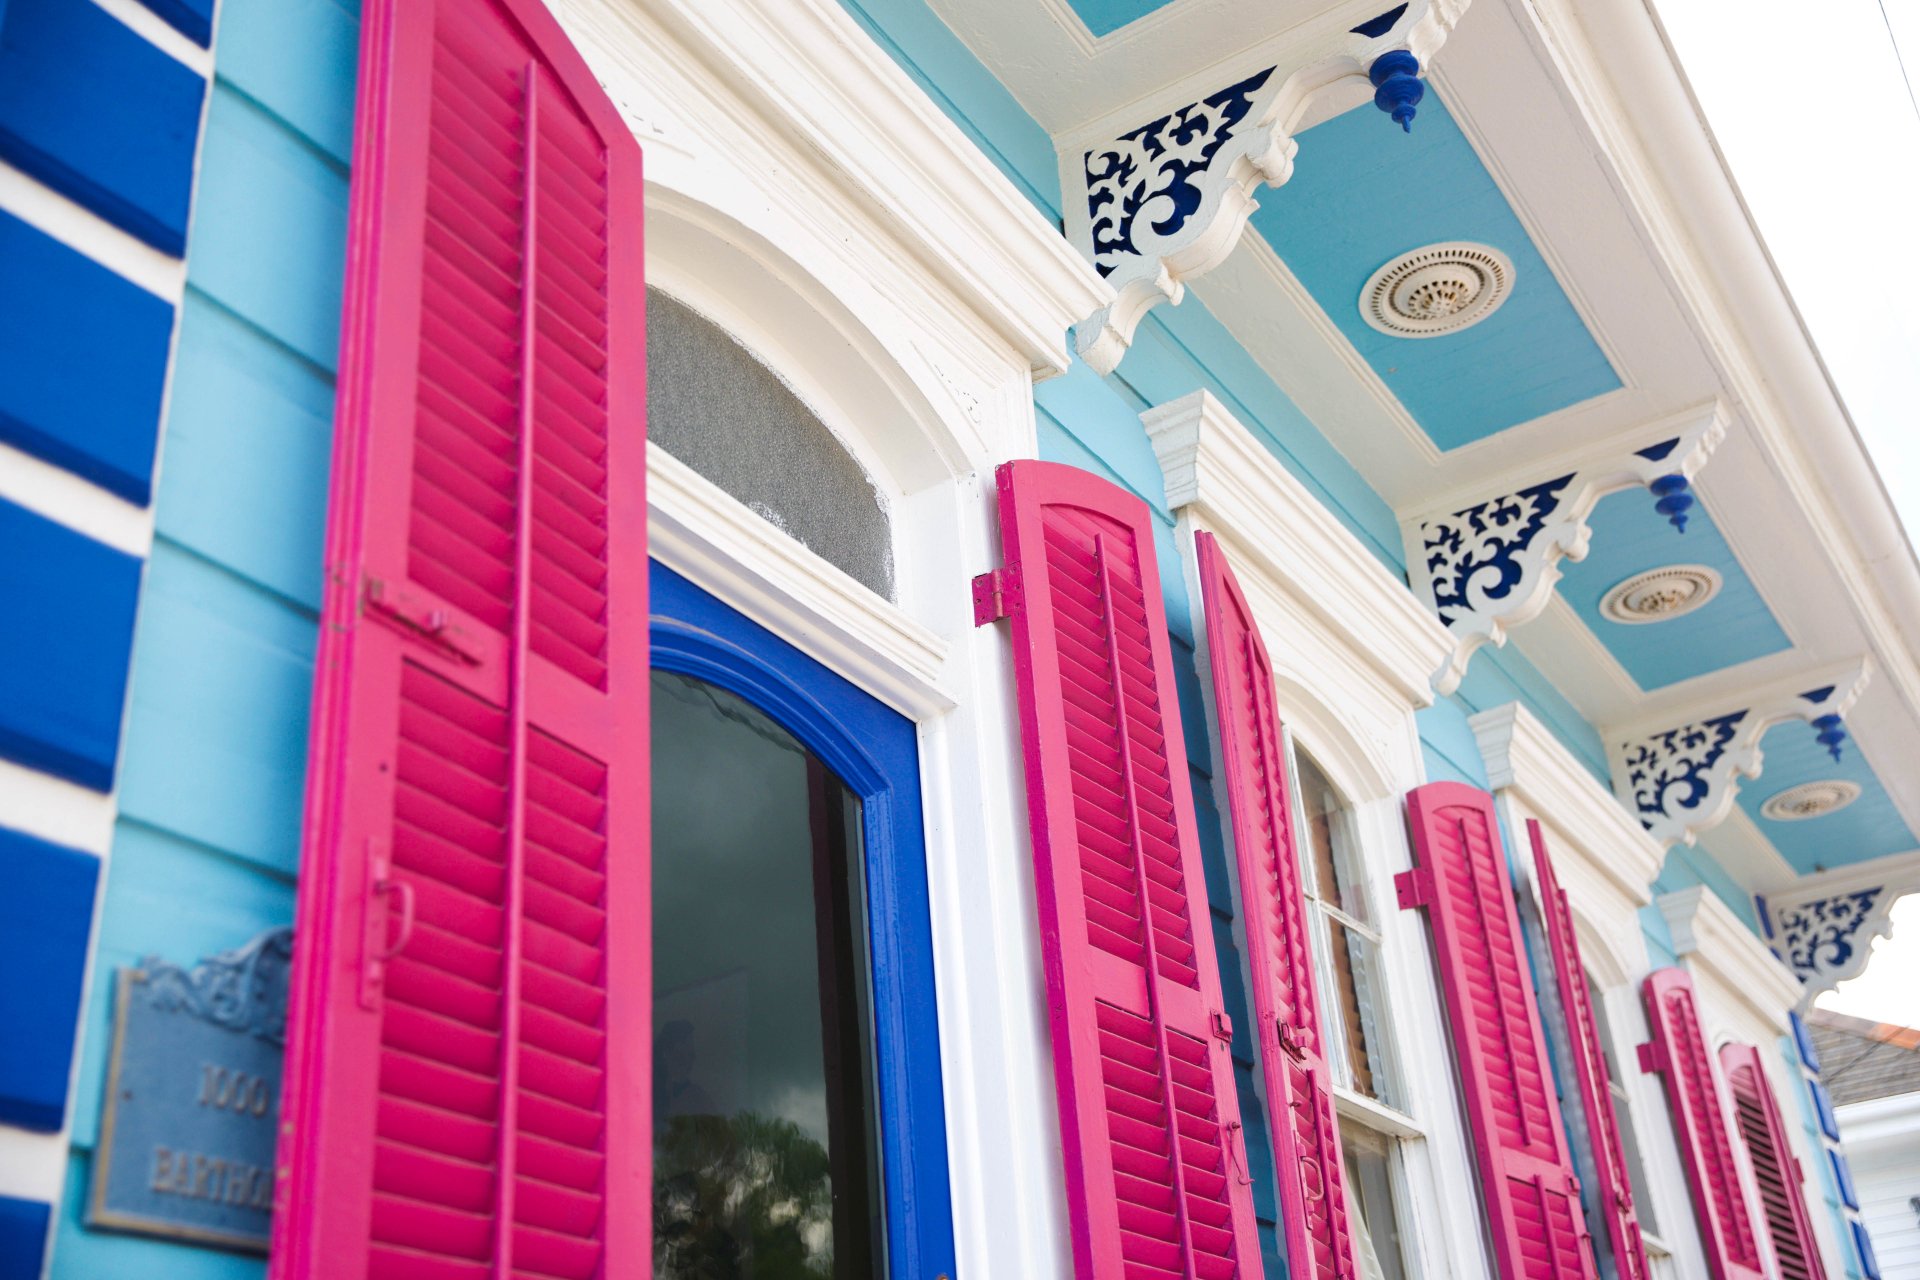
Revamp Your Old Exterior: Where to Start?
Do's
1. Inspect your home:
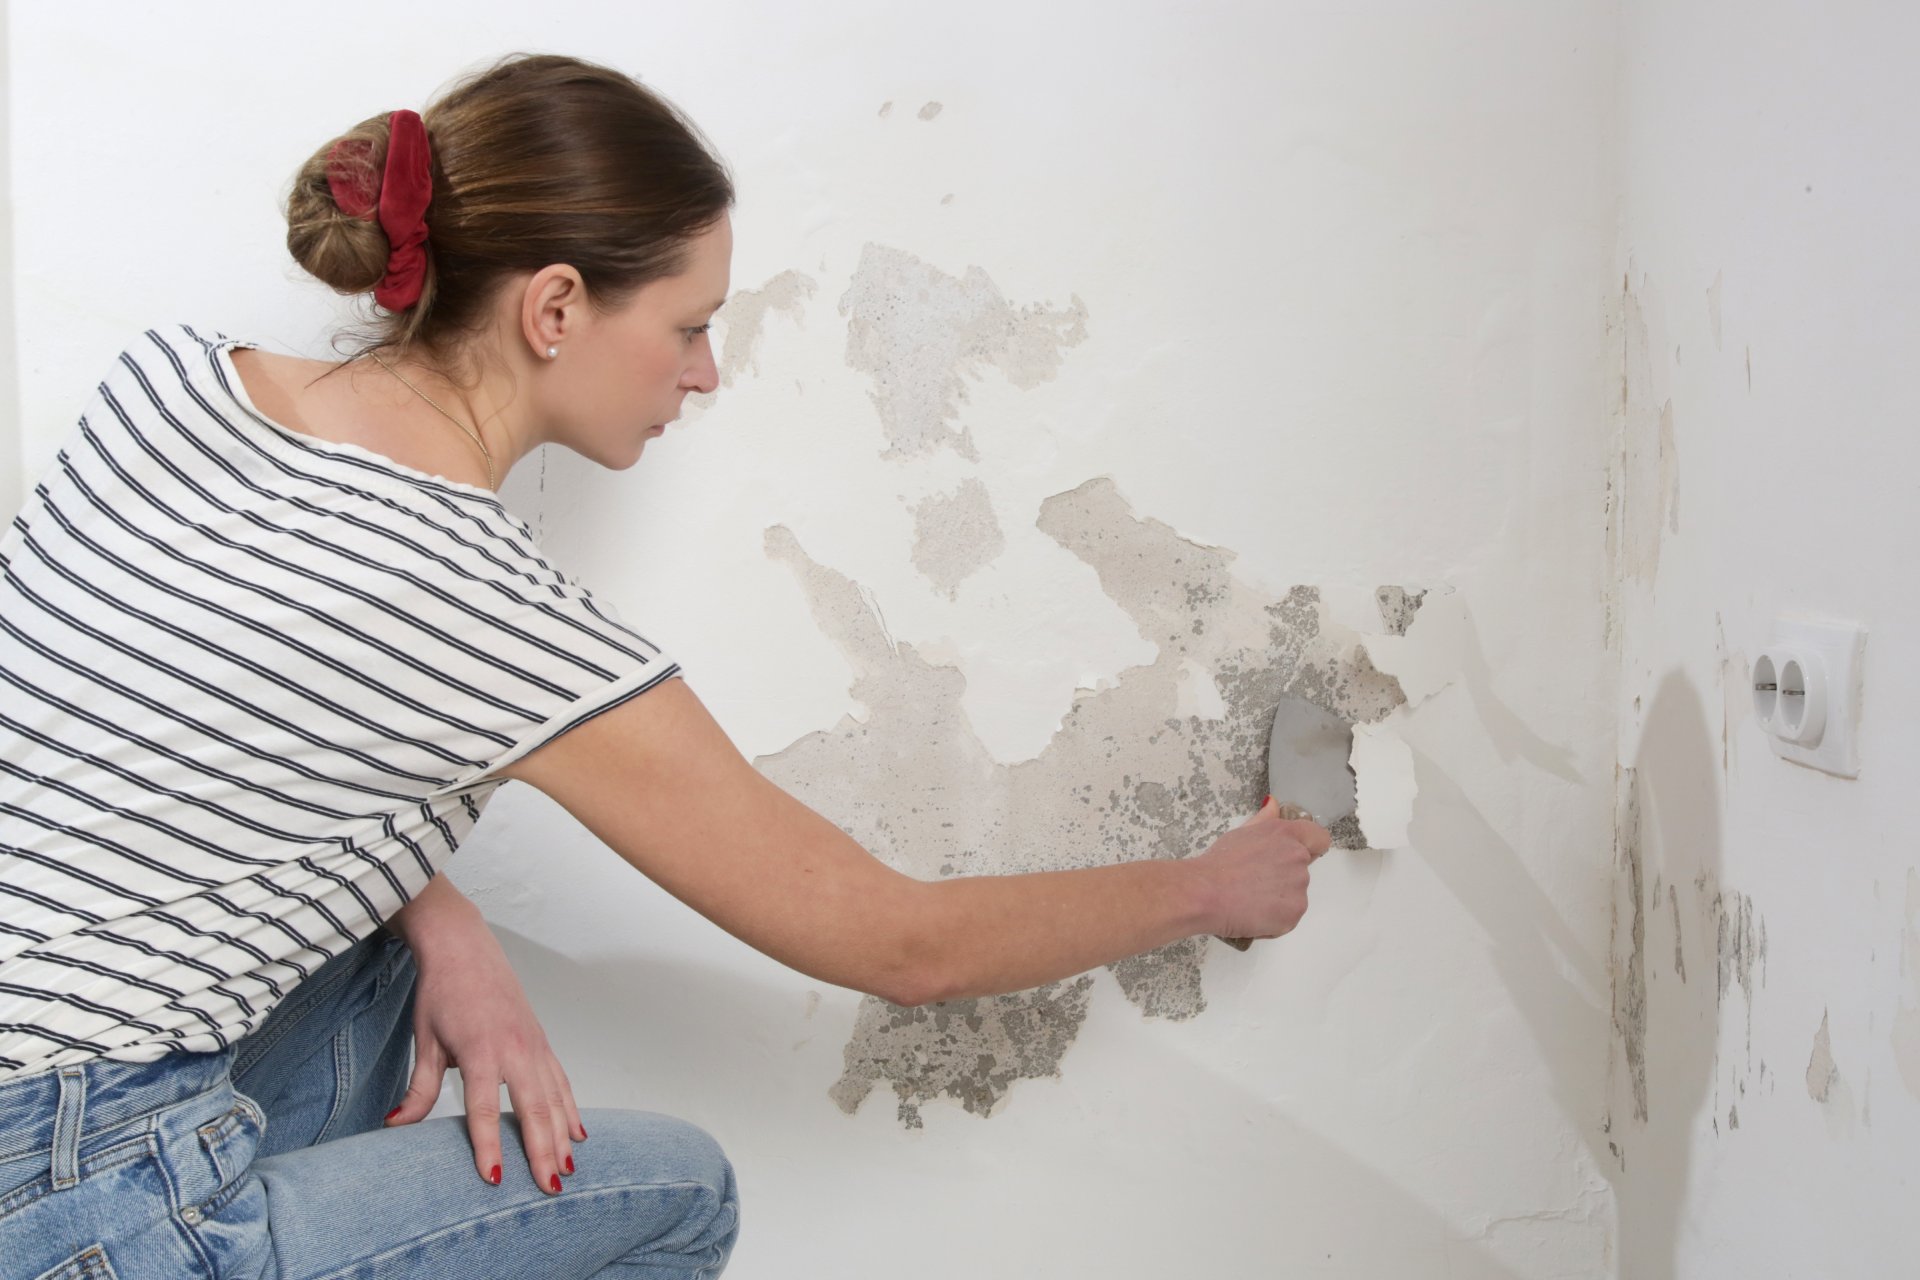
Before painting an older home, professionals often recommend a thorough paint inspection. This helps identify problem areas like damp, mold, asbestos, or lead paint that might need specialized treatment.
Particularly if your home was built before 1978, you should test for lead before starting your project. If your home does test positive for lead-based paint, the US Environmental Protection Agency recommends that you use an EPA-certified lead-safe contractor.
For more on the EPA guidelines on lead paint.
2. Check local regulations:
Before you begin repainting an old exterior, consult your local government websites and contact municipal offices to get detailed information about your specific location. Check zoning laws, environmental regulations, required permits, noise and safety ordinances, and waste disposal guidelines. You may need to get approval for your chosen color scheme or types of paint. Some jurisdictions have rules about how close to the property line you can perform certain types of work, so verify any setback and easement rules.
3. Heed history:
If you’re painting a historical home, be sure to consult with your neighborhood historical society for any requirements for maintaining historical integrity. This might involve choosing period-appropriate colors and finishes, as well as preserving original detailing. Consulting with a professional restoration expert who is familiar with your locale might also be advisable.
The US Department of the Interior publishes a valuable guide on painting historic buildings:
http://npshistory.com/publications/preservation/reading-list/painting-hist-bldgs.pdf
Check out this guide to selecting colors for historical exteriors:
These shorts take you through the process of painting a historical home:
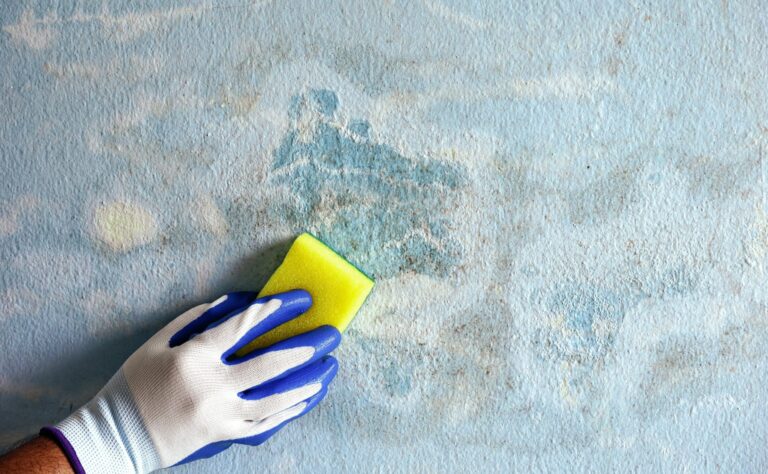
4. Deep clean surfaces:
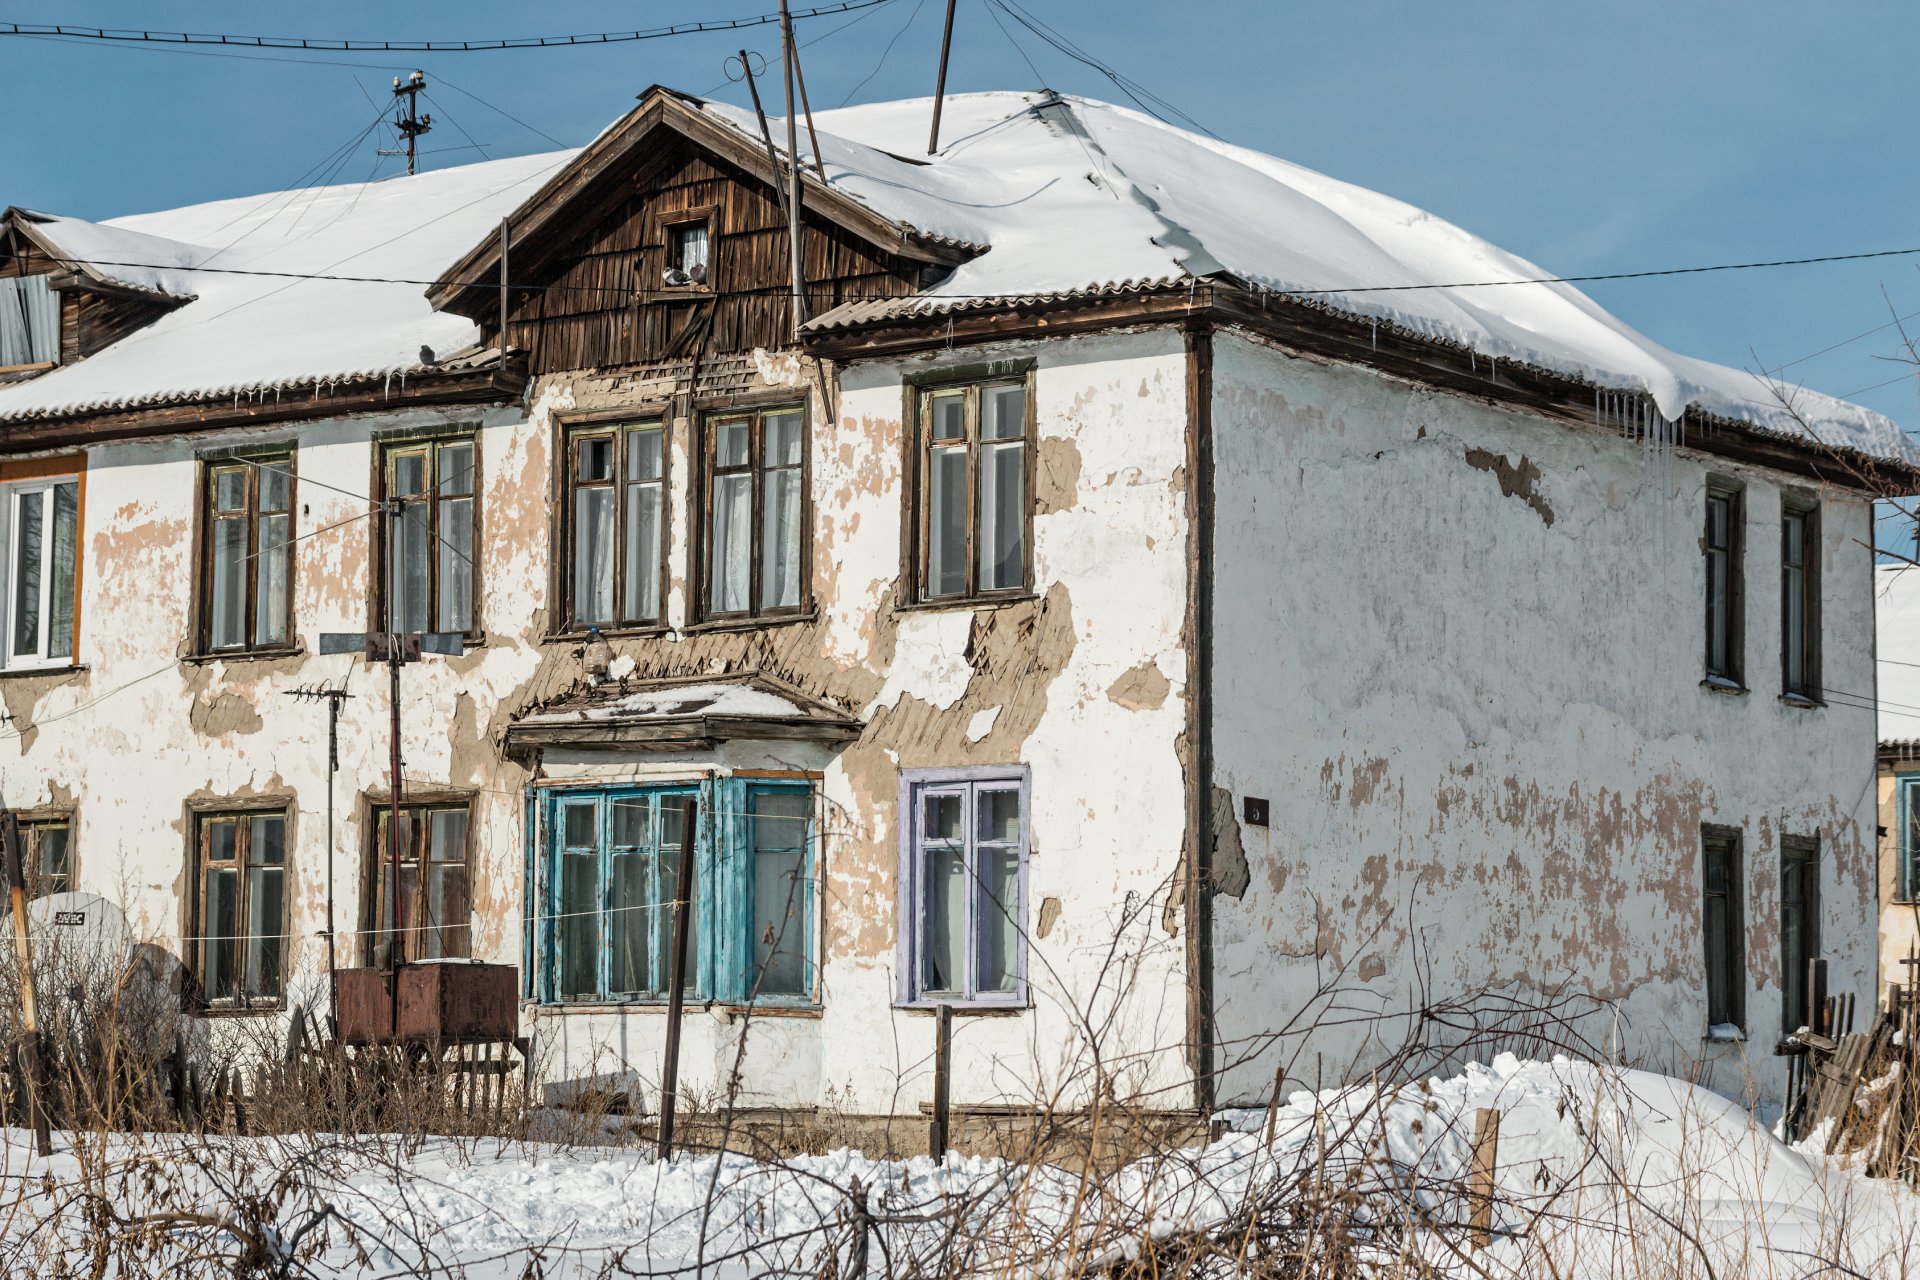
Old homes may have many layers of paint on the surfaces, as well as dirt and grime. Before picking up a paintbrush, it’s crucial to remove old flaking paint, dirt, or mildew to ensure a smooth application.
A pressure washer can expedite this step and save you a lot of elbow grease. Opt for a Trisodium Phosphate (TSP) solution to clean the exterior thoroughly. Professionals recommend this because it tackles even the toughest grime and provides a clean surface for optimal paint adherence.
A clear explanation for how to make TSP solution:
Don'ts
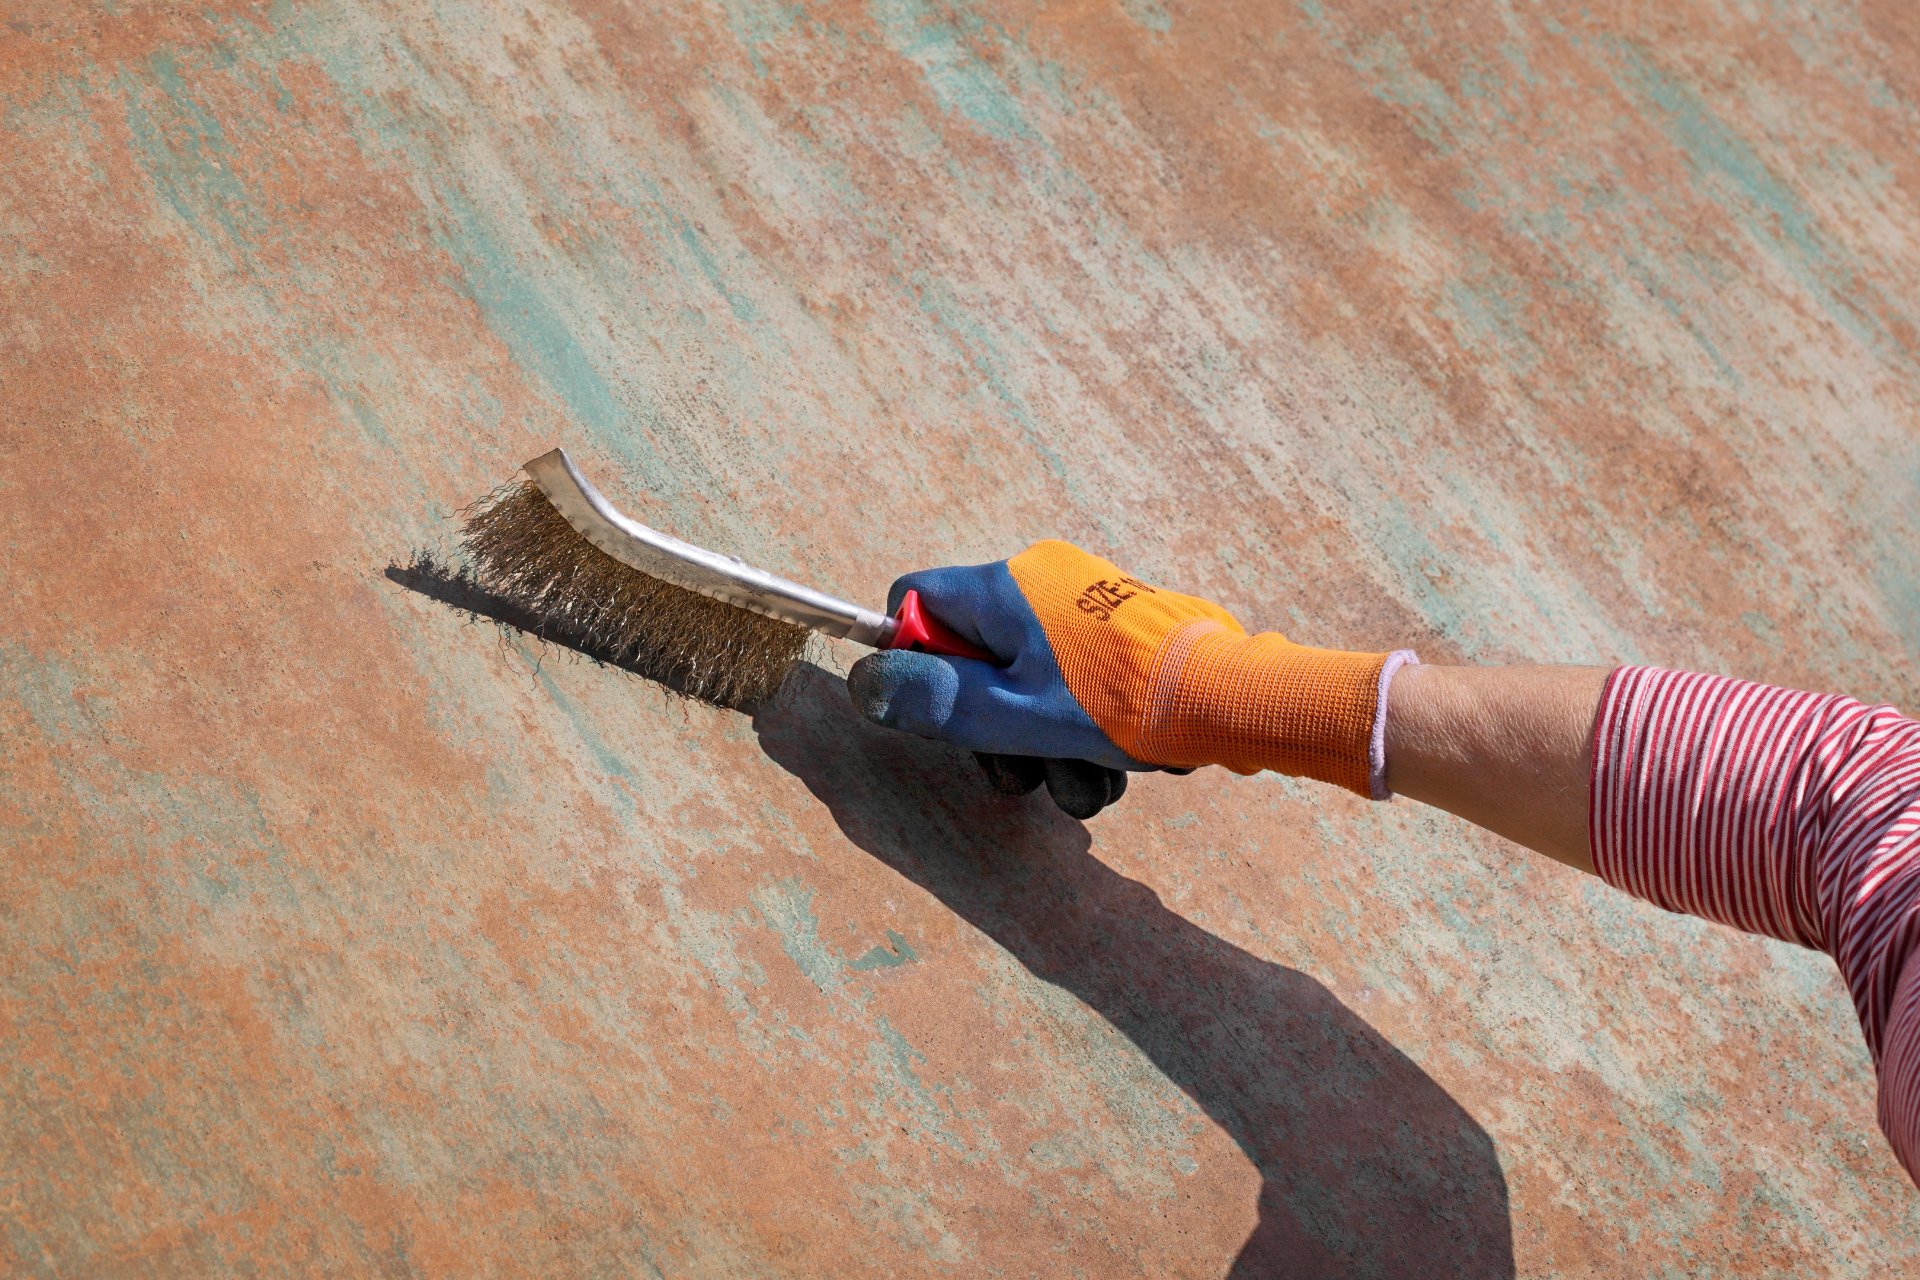
1. Don’t skip repairs:
Old homes have often faced years, or even decades, of exposure to the elements. This means you might encounter exterior structural issues like rotting wood, rusting metal, or damaged siding. Repair and replace before you start.
Here’s a friendly guide for painting a 101-year-old house, including restoration of wood siding and replacing rotten trim:
2. Don’t use latex over oil-based paint without proper prep:
Older homes often have layers of oil-based paint. Oil-based paints tend to have a smoother, harder finish, which makes it difficult for latex paint to adhere properly. If you apply latex paint directly over an oil-based coat, you might find that the paint peels, cracks, or chips off more easily over time.
For exterior walls, professionals recommended using an exterior-grade bonding primer specifically designed for use over oil-based paints. This will ensure optimal adhesion and durability for your latex topcoat, even in challenging outdoor conditions.
For more on how to use latex paint over oil-based.
Freshen Up Your Old Interior: What You Need to Know
Do's
1. Prime the Surface:
Older homes may have walls made of plaster rather than drywall. Plaster surfaces require different preparation and may need specialized primers for effective paint adhesion.
Use spot priming for areas that are especially worn out or stained. Spot priming is a painting technique where primer is applied only to specific areas of a surface rather than covering the entire area. This method is particularly useful in old homes, with surfaces that have stains, knots in wood, or patches of old paint that have flaked or peeled off. Spot prime to ensure that these problematic zones get the extra attention they require for a uniform finish.
A quick-and-easy clip on how to spot prime:
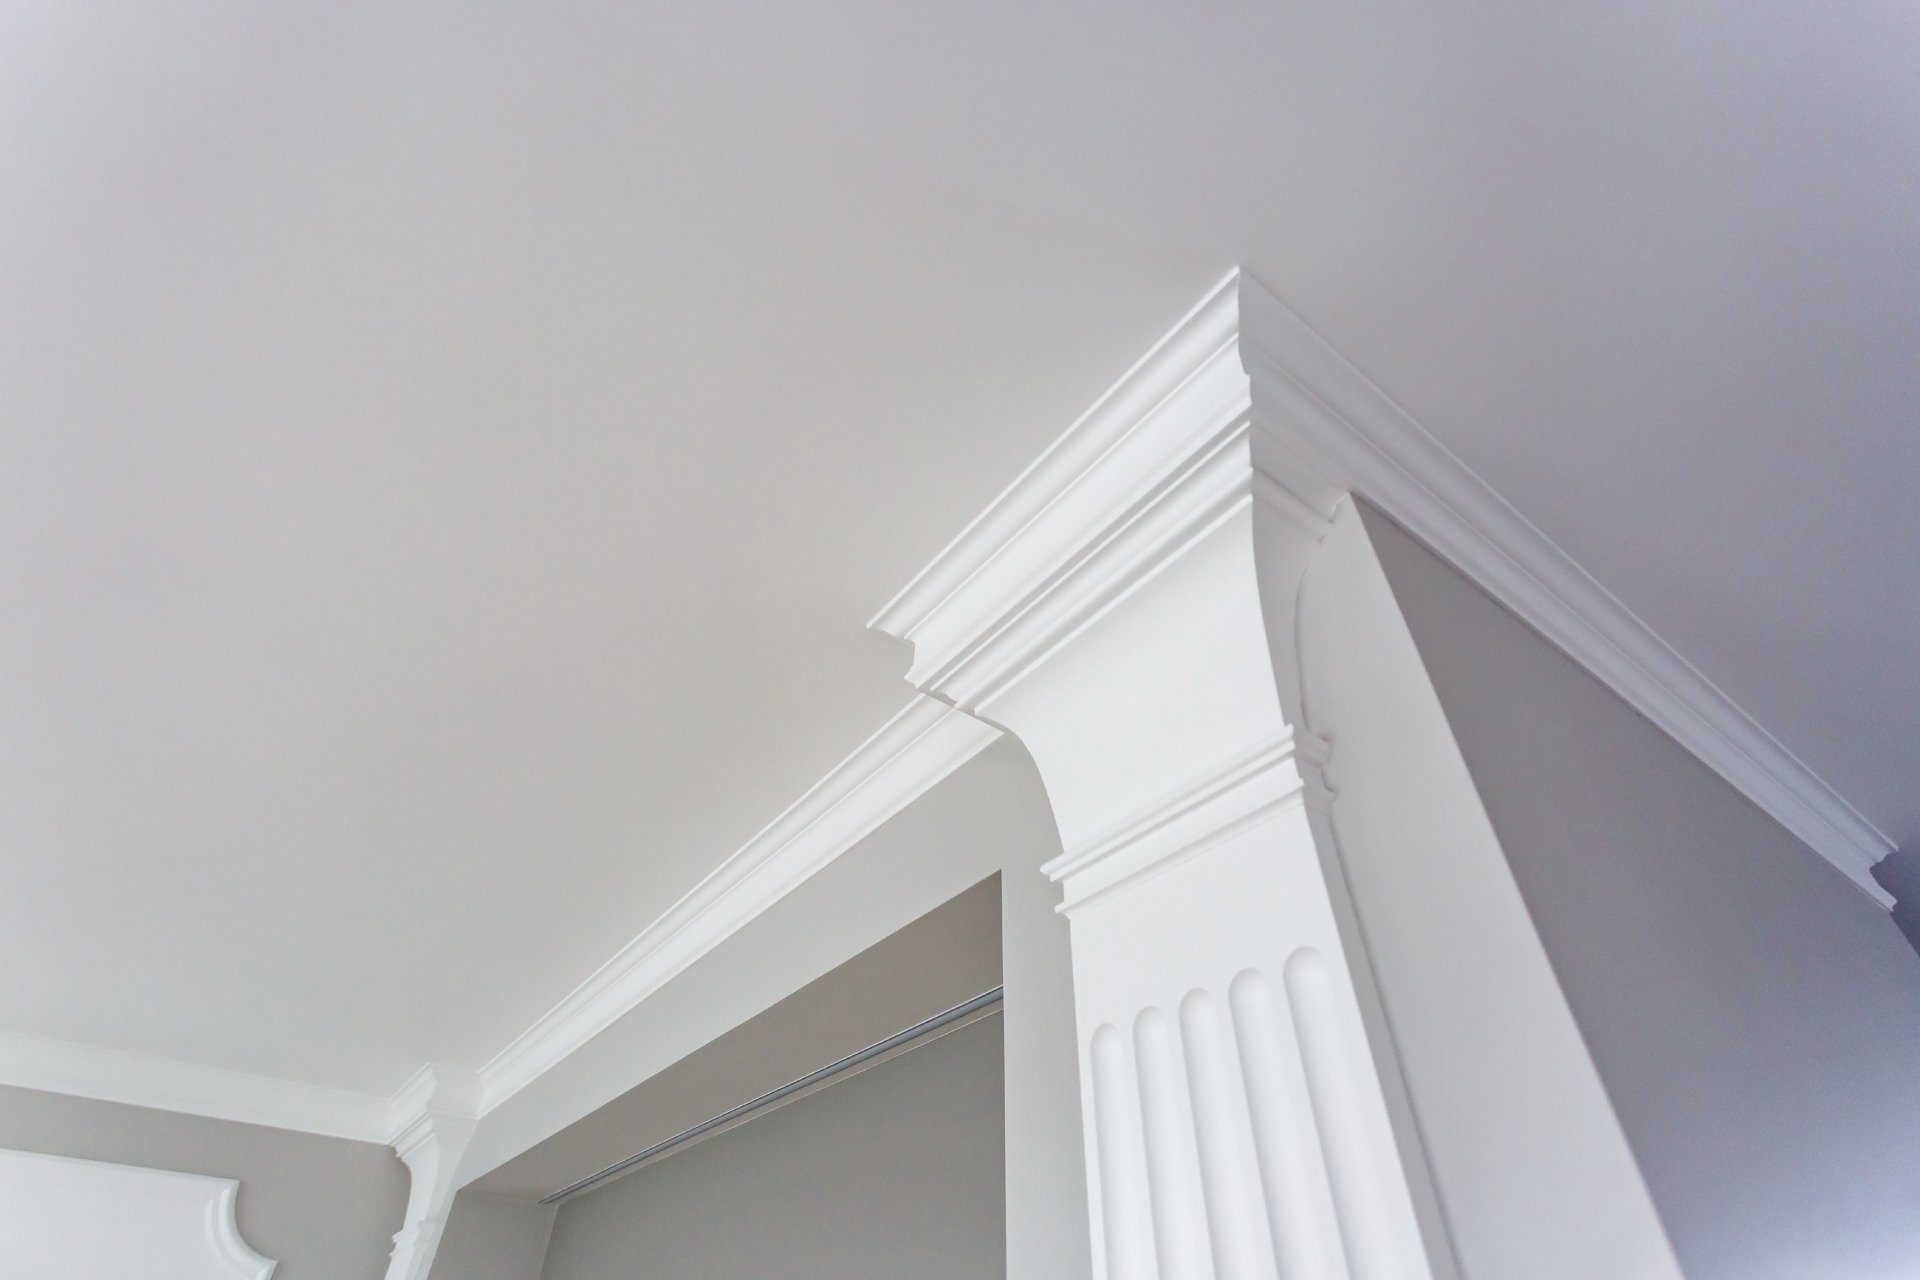
2. Focus on Detailing:
Old homes often feature intricate molding, wainscoting, or cornices that can be time-consuming but rewarding to paint. These features require a keen eye for detail and perhaps even some artistic flair. Use a fine-grit sandpaper to lightly sand the surfaces. This helps the primer and paint stick better, especially on detailed or ornate areas. If your intricate woodwork has old stains or discolorations, consider a stain-blocking primer for a cleaner, more uniform finish.
For fine details, try artists’ brushes to ensure you don’t miss any nooks and crannies.
See this video for patterned coving:
For a highly intricate cornice, try spray painting:
Don'ts
1. Don’t ignore asbestos:
Homes built before the late 1970s often contain asbestos in textured ceilings or lead-based paint. Painting over these surfaces without proper safety measures can be hazardous. Even homes built in the mid-1980s could potentially still contain asbestos materials. Before you start painting an old interior, it’s vital to have it inspected for asbestos, and if needed, contact a certified professional contractor to have the asbestos removed.
2. Don't assume all surfaces are equal:
In older homes, it’s common to find a mix of surfaces like plaster, drywall, and even wood paneling, each requiring a different preparation and painting technique. Painting them all the same way can result in uneven finishes and reduced durability.
Adjust your preparation and painting methods accordingly. For instance, plaster might require a different type of primer than drywall. Doing so will ensure a more uniform and long-lasting finish.
Whether you aim to revamp the outside or refresh the inside, your old home deserves the best for both exterior painting and interior painting. With these detailed do’s and don’ts for painting old homes, you’re setting yourself up for a successful and lasting makeover.
And for those who would rather leave it to the experts, remember that Dallas Paints is always at your service, guaranteeing top-notch quality and durability.
For a free quote and consultation, make an appointment or call us today at (214)-978-4400.