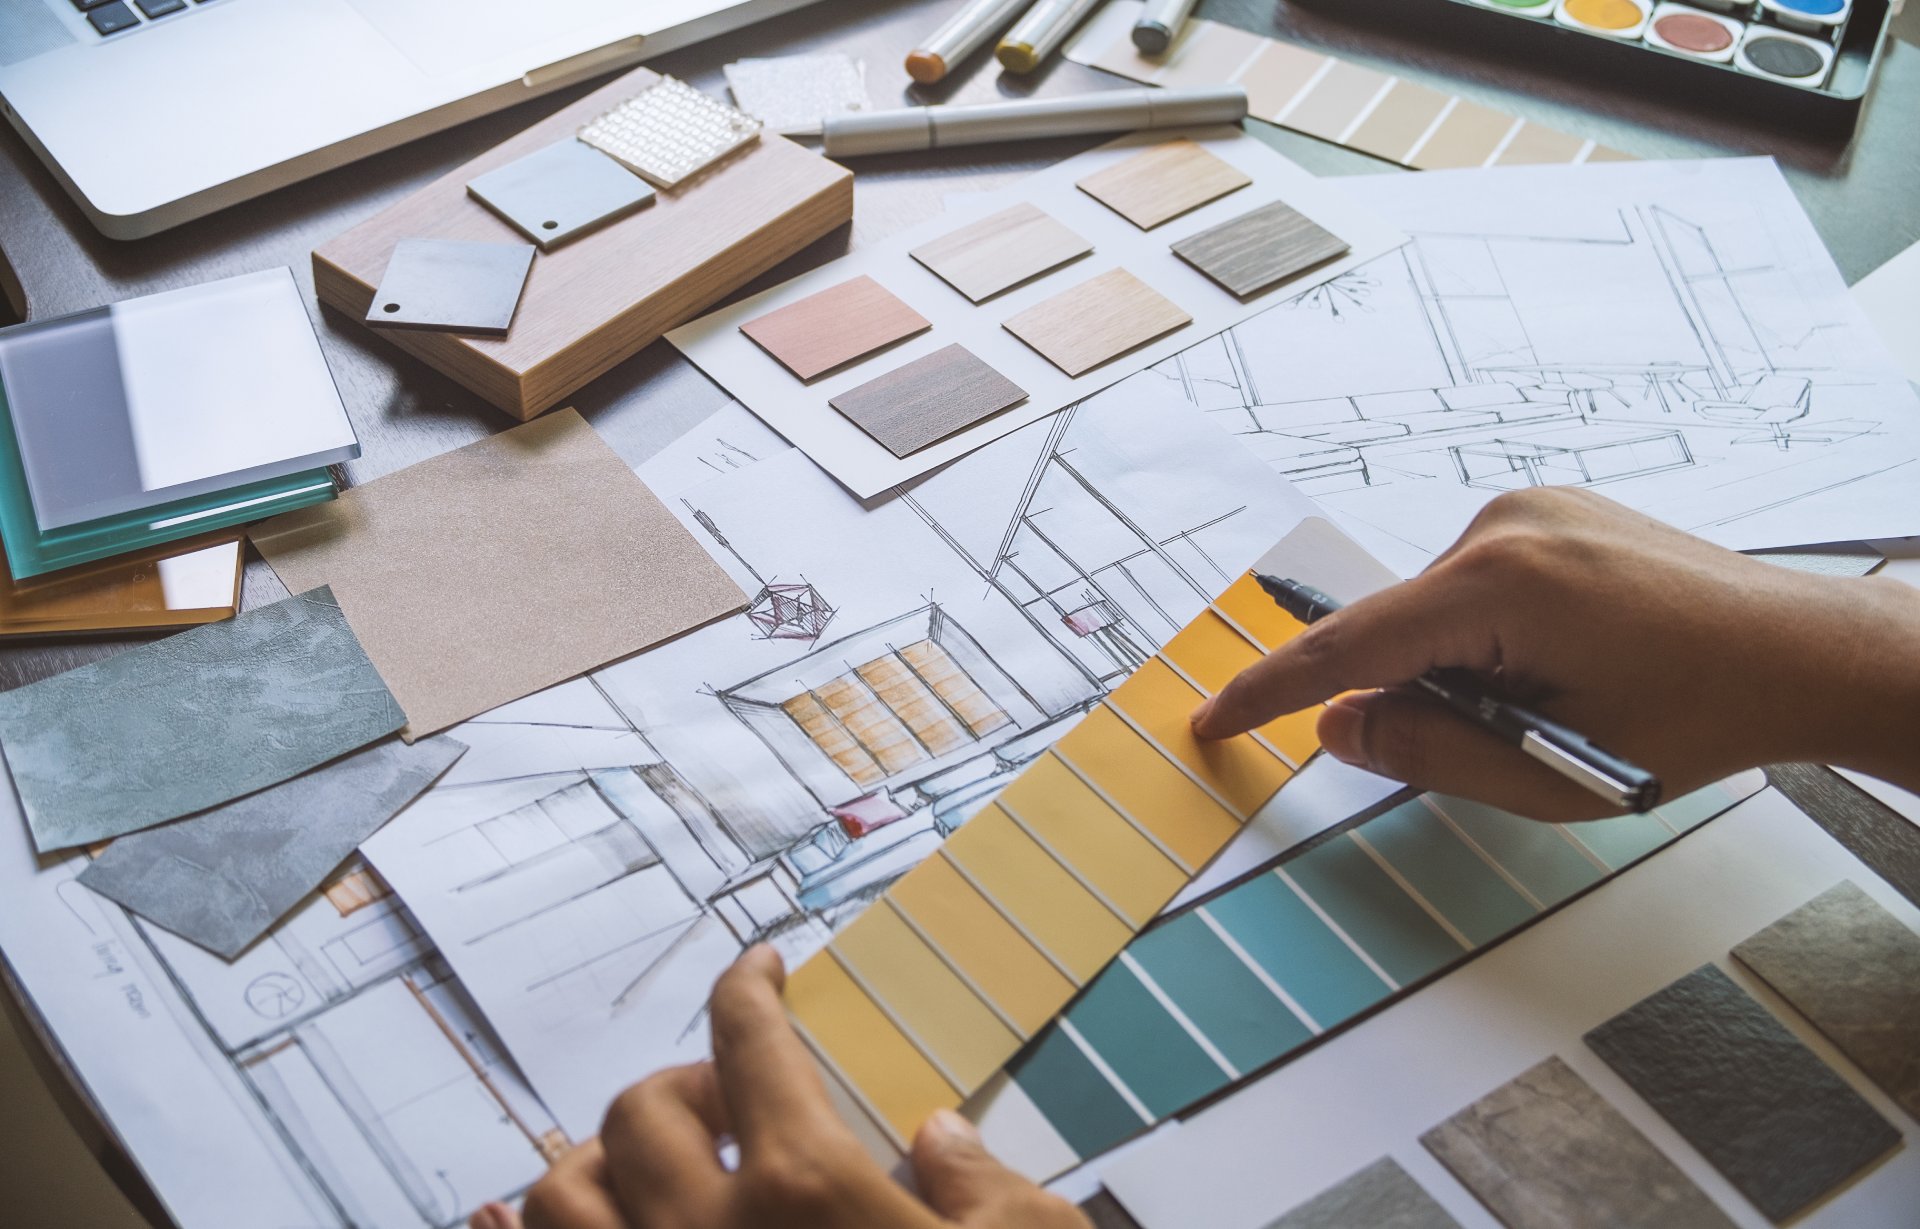

Thanks so much for this checklist. It really helped me to be more efficient, especially the tip about writing down the colors for each room.

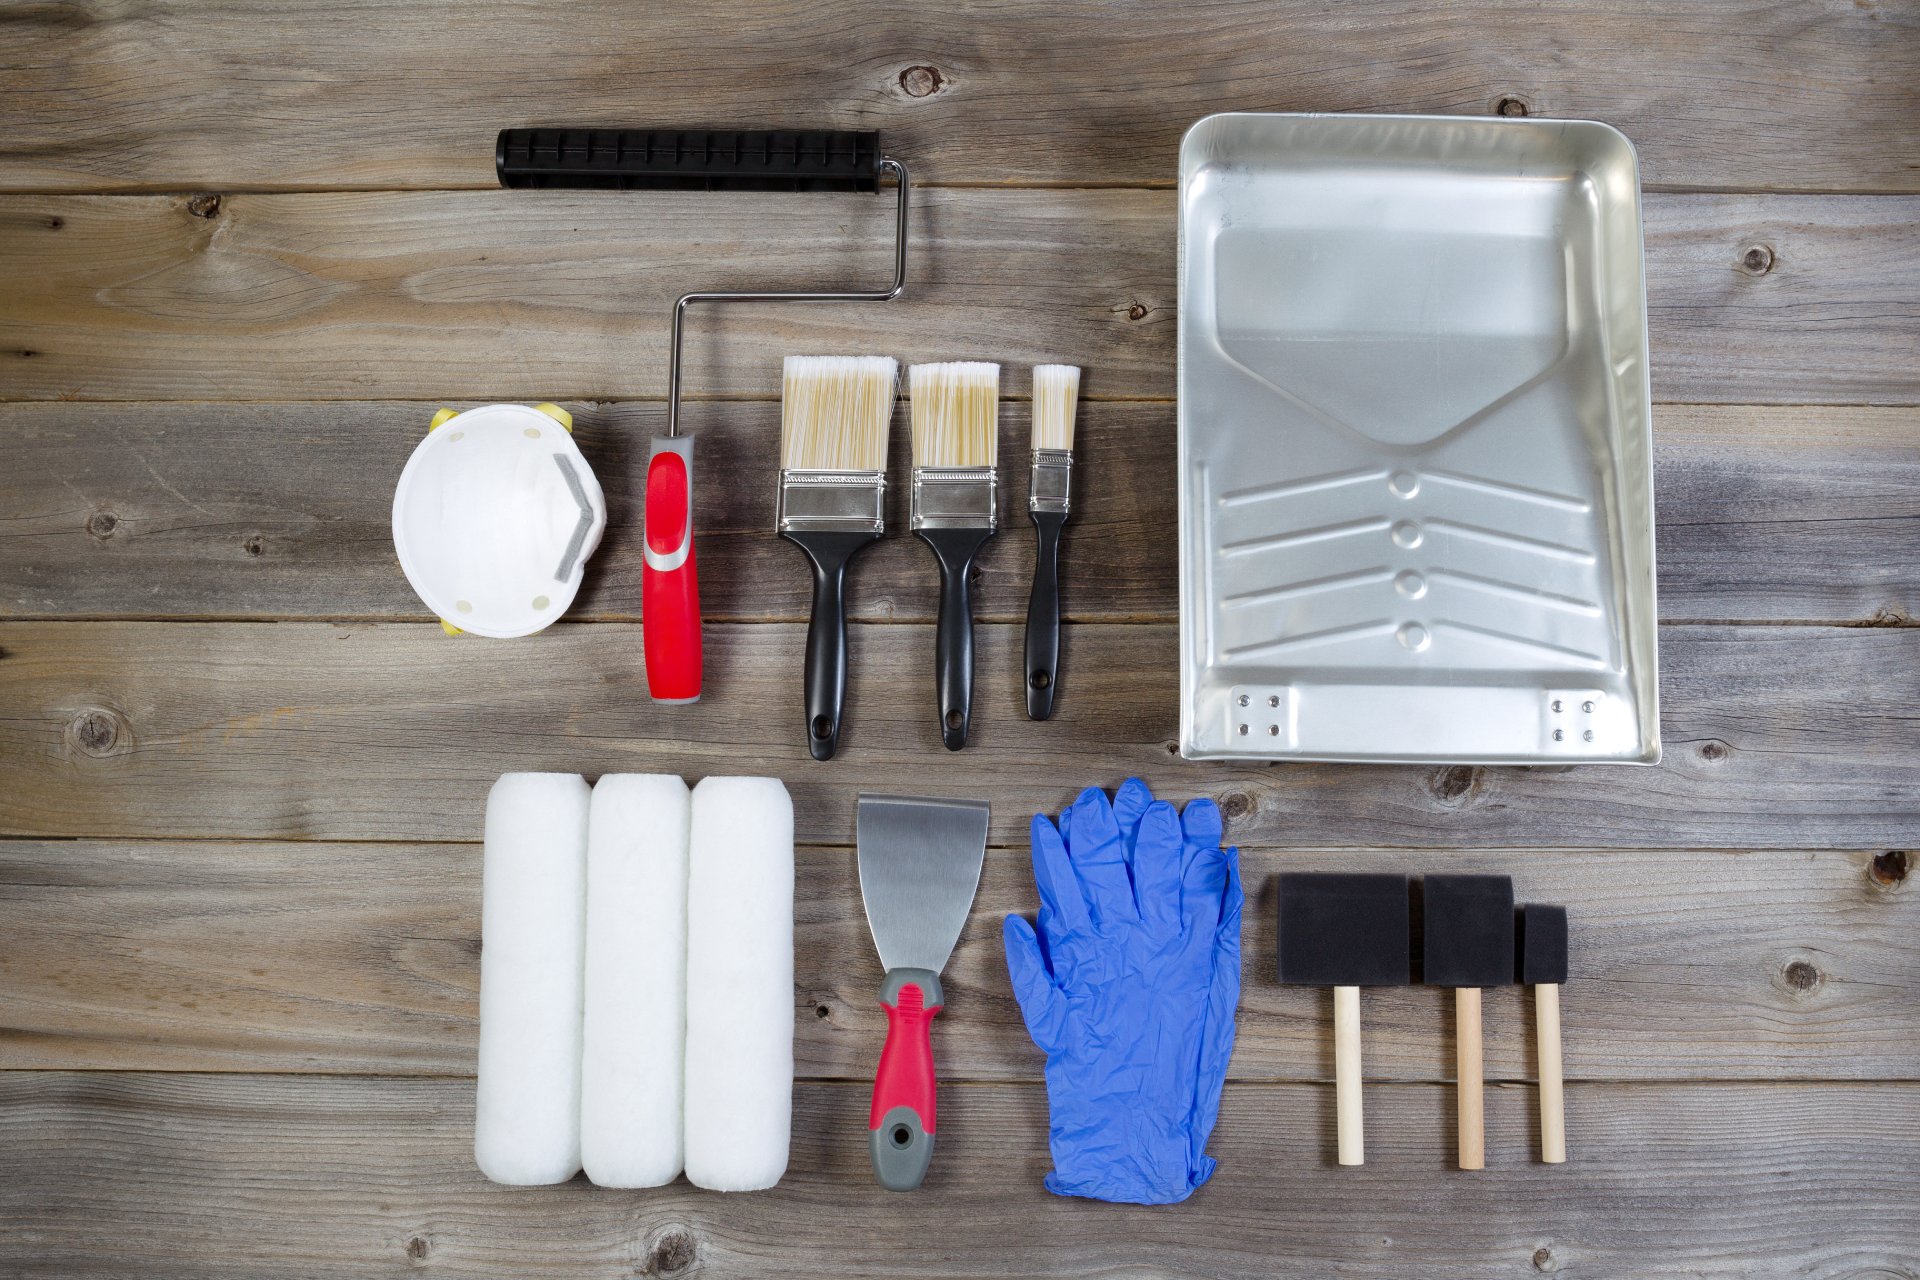
Awesome checklist! I printed out the list of supplies and took it with me on my shopping trip. You guys saved me serious dinero.